Horseback Riding Trail Fitness for Beginners
Beginner trail riding fitness focuses on simple at-home exercises, posture, and breathing techniques that help riders stay balanced, comfortable, and in control. With consi
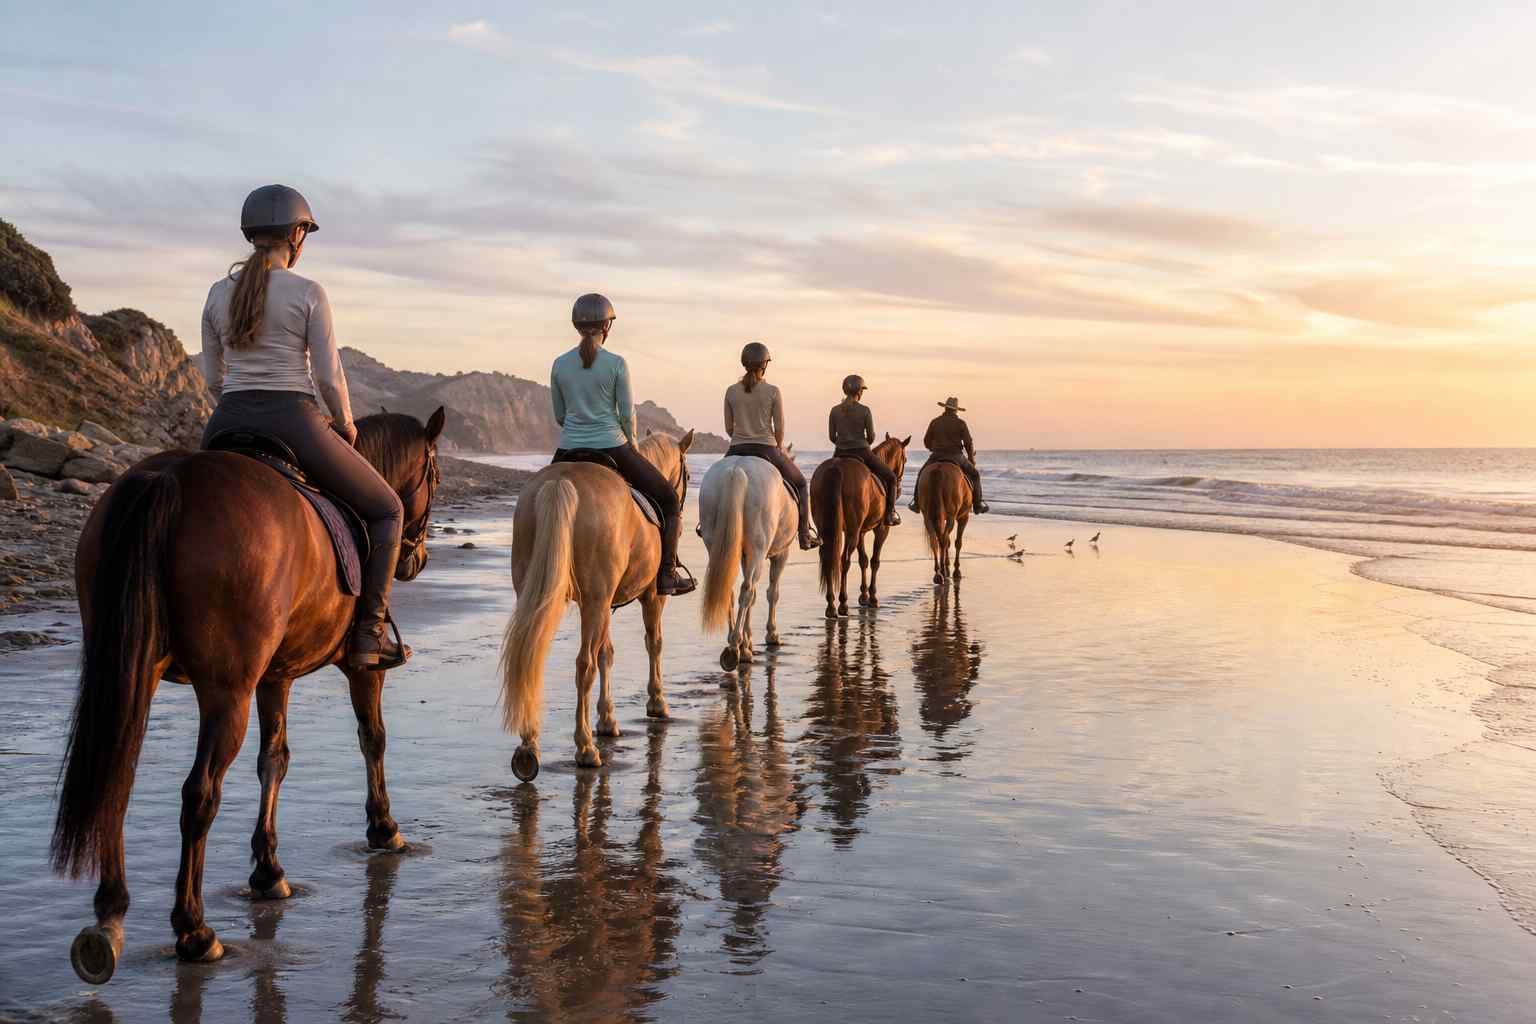
If beginner trail riding has left you stiff, sore, or winded, the solution usually isn’t grit, it’s preparation. A quiet, balanced rider spares the horse from your tension and extra movement. Small changes, centered posture, supple hips, steady breathing, make rough miles smoother and help you ride kindly over hills, uneven footing, and long walks.
This guide treats horseback riding fitness as practical work you can do at home: a quick self-check to find your starting point, a 5–8-minute warm-up that opens hips and ankles, and simple trail riding exercises for the core, glutes, and legs that build stability without a gym. You’ll also get pacing and terrain strategies, safety and gear checks, breathing cues, and a realistic weekly plan, grounded in rider fitness habits that help you ride longer with less strain.
Beginner Trail Riding Fitness: What You Need, How Long It Takes, and How to Start
Your horse feels every change in your posture, balance, and tension. Think of your body as part of the saddle’s weight and the horse’s steering system, where you sit and how you move directly shape how the horse can move. In any beginner trail riding fitness plan, understanding this connection makes the ride calmer, clearer, and safer for both of you.
Here are the basics. Your hips and core place your center of mass over the horse’s back. When your pelvis is neutral, neither tucked under nor tipped forward, and your ear–shoulder–hip–heel are in line, your weight spreads evenly through the saddle. That even load lets the horse lift the back and step under with the hind legs, which you’ll feel as a smoother, more swinging walk. If you lean to one side, collapse at the waist, or brace through the legs, your weight shifts and creates pressure points under the saddle. Studies using pressure mapping show that even small rider asymmetries can increase pressure under one panel or at the front or back of the saddle. Horses often respond by shortening the stride, drifting, or hollowing the back to escape discomfort.
Hands and breathing matter, too. Contact means a steady, light feel through the reins that follows the horse’s natural head and neck motion, especially at the walk and over uneven ground. A quiet, balanced trunk gives you independent hands, so the reins carry information rather than accidental tugs. If your core collapses or you hold your breath, your hands tend to pull for balance, sending mixed signals that ask for slow when you only meant steady. Over time, that noise in the communication can chip away at the horse’s confidence on rocks, water crossings, and narrow paths.
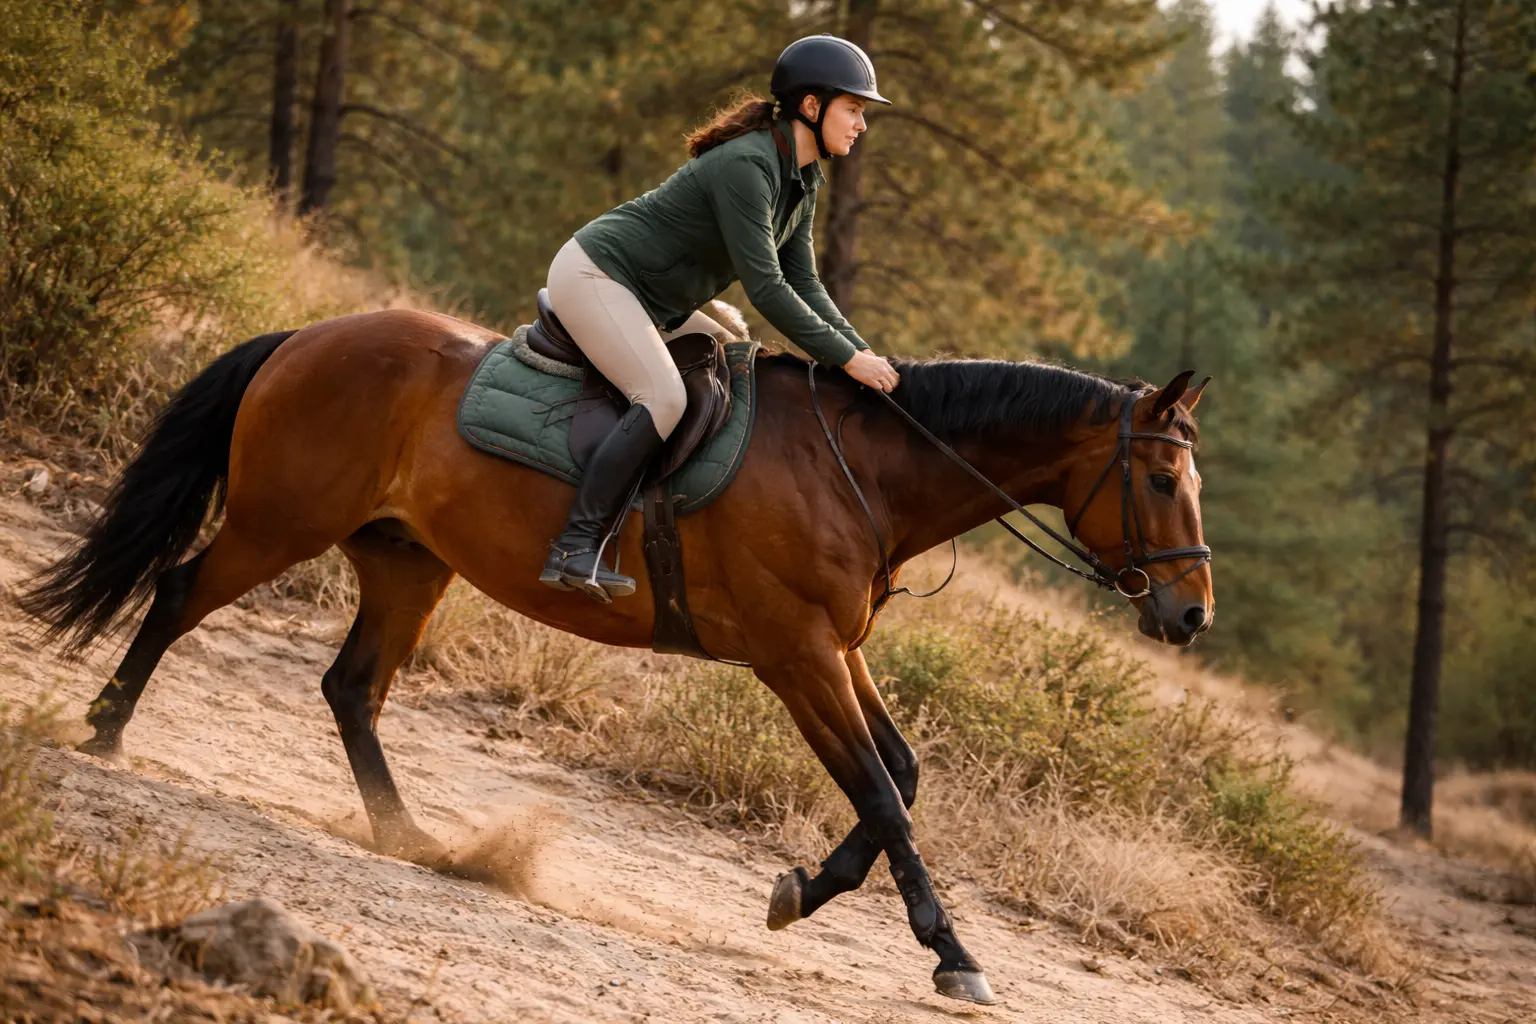
Picture a short downhill on a loose, sandy trail. Rider A uses a light half seat, hips back, tall chest, soft knees and ankles, keeps weight over the middle of the foot, and follows the neck with quiet hands. Their mass stays centered, so the horse can lower the head, use the neck for balance, and take measured, secure steps. Rider B tips forward onto the pommel, braces straight‑legged, and tightens the reins to feel secure. That shifts weight onto the shoulders and mouth at the exact moment the horse needs freedom to balance; strides get choppy, the back tightens, and the risk of a slip rises. The difference isn’t strength alone, it’s alignment, soft joints, and steady breathing that keep signals clear.
This connection works two ways: better rider stability reduces effort for the horse, which in turn makes the ride feel smoother for you. Small improvements in symmetry, posture, and relaxed control lower the noise in your aids and help the horse trust your guidance when the ground changes underfoot. Expect fewer accidental cues, a steadier rhythm, and a horse that looks ahead with purpose rather than hesitation.
With the why in place, the next step is simple: find your baseline. A few quick at‑home checks for strength, balance, flexibility, and endurance will show where to start and how to tailor the plan that follows.
Beginner Trail Ride Readiness: The Simple At-Home Checklist
Before you start adding workouts, take a quick baseline. These simple, no‑equipment checks show where your strength, balance, and stamina are today so you can personalize your plan and ride more comfortably.
Set up a safe space: clear a small area of floor, have a chair or wall within reach, and wear supportive shoes.
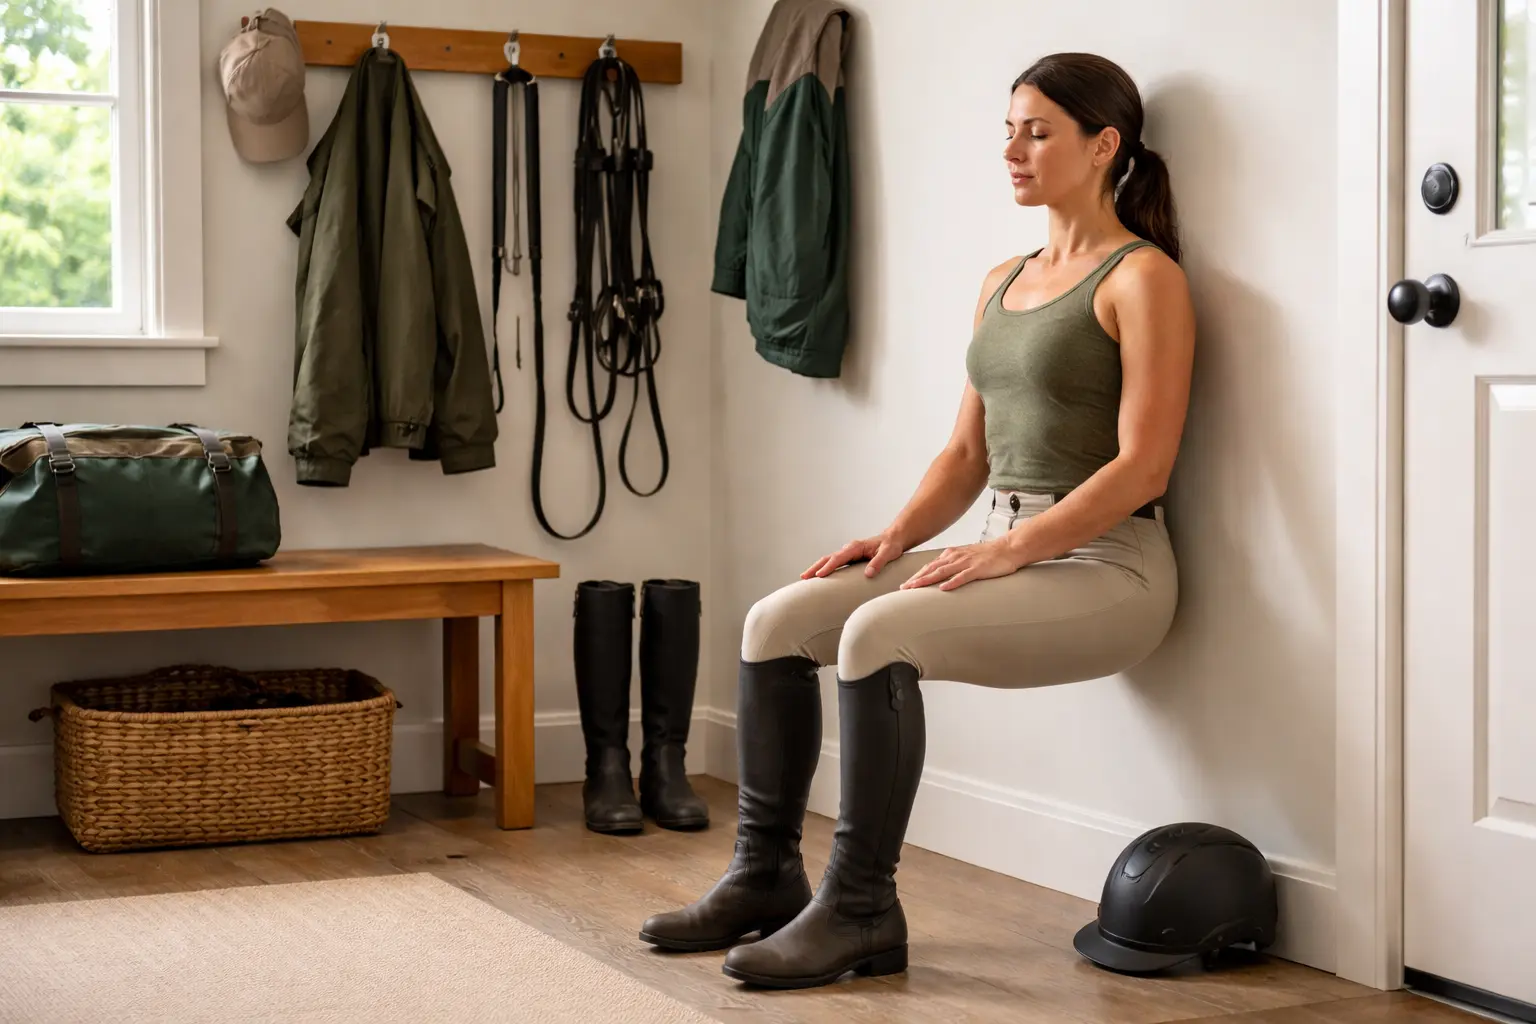
Strong Legs for Steady Contact: 30–60 Second Wall Sit
How to do it: With your back against a wall, slide down until your thighs are roughly parallel to the floor. Keep knees over the mid‑foot and maintain a neutral spine. Breathe steadily.
What it shows: Holding 45–60 seconds with even breathing suggests you can tolerate posting and short half‑seat periods on gentle descents. Under 20–30 seconds points to quad fatigue that often shows up as knee pinching or bouncing on uneven ground.
Trail‑Stable Balance: 20–30 Seconds Single‑Leg Stand Per Side
How to do it: Stand tall on one leg with hips level. Stay lightly near a wall for safety. Aim for 20–30 seconds per side without touching down.
What it shows: A side‑to‑side gap greater than about 5 seconds hints at asymmetry that can lead to tipping in the saddle on cambers or when your horse sidesteps. Practice first on the weaker side to help close the gap.
Quiet Trunk, Quiet Hands: 20–30 Second Modified Plank
How to do it: From knees and forearms, keep a straight line from shoulders to knees. Breathe slowly, making your exhale a bit longer than your inhale.
What it shows: Holding 20–30 seconds without sagging or bracing your neck indicates enough core control to resist trail jostle. If you shake or hold your breath early, you may default to gripping or pulling on the reins when terrain changes.
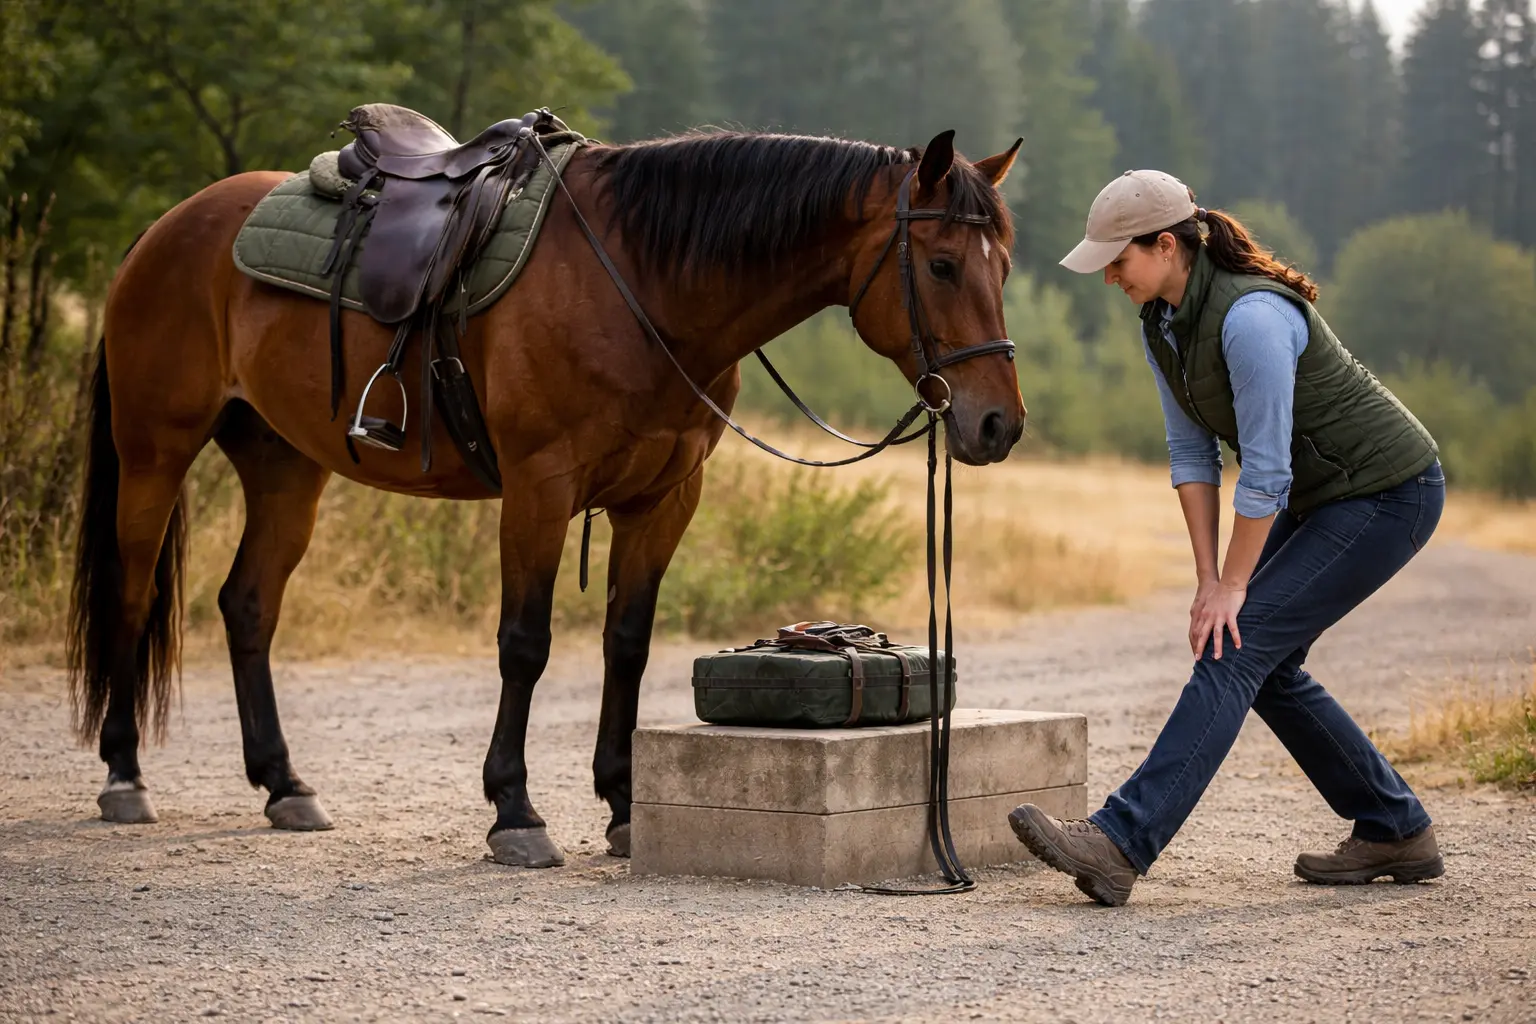
Practical Mounting Readiness: Safe Mount and Step‑Up Check
How to do it: Confirm you can mount smoothly, ideally from a block to reduce strain on the horse, without hopping or yanking the saddle. As a proxy, step onto a 6–8 inch step with control, 8 reps per leg.
What it shows: Difficulty here often predicts awkward mounts and challenging dismounts on hills. Plan to use a mounting block and ask your guide for steadying help if needed.
Ride‑Length Stamina: 20–30 Minute Brisk Walk at Conversational Pace
How to do it: Walk at a moderate pace where you can speak in full sentences for 20–30 minutes. This aligns with the standard talk test for moderate effort.
What it shows: If conversation becomes choppy after 10–15 minutes, start with intervals, 2 minutes brisk, 1 minute easy, repeated 6–10 times, and add a few minutes each week.
Track to Personalize: Record and Retest Every 4 Weeks
Write down times or reps for each check, plus left/right differences. Use the results to set targets (for example, add 10–15 seconds to your wall sit or match single‑leg times side to side), then retest monthly to confirm progress and adjust your plan to what matters most for trail comfort.
A quick baseline clarifies where to focus so training stays short, friendly, and aligned with the calm, present experience you want from beginner trail riding. With your starting point set, the next step is building core stability for a quieter, more independent seat.
Beginner Trail Riding: Fitness Steps to Ride Safely, Comfortably, and With Confidence
Mobility That Matters: Hips, Ankles, and Upper Back
Core Stability for Trail Riding: How to Build a Quiet, Balanced Seat
A quiet, balanced seat begins with the part of you the horse can’t see but feels in every stride: your core. Not the six‑pack showpiece, but the deep system, the diaphragm, pelvic floor, transverse abdominis, and small spinal stabilizers, that manages pressure and resists unwanted motion. When that system times its effort to the horse’s rhythm, your hands stay independent, your legs stay kind, and your weight reads as a steady message rather than background noise. For beginner trail riding, this is the single biggest upgrade you can make without changing anything about your tack or schedule.
Think of core stability less as doing more and more as allowing less. On rolling terrain, the horse’s back moves in three planes: forward–back, side‑to‑side, and a gentle rotation. A stable trunk doesn’t lock against that movement; it filters it. In practice, that means resisting excessive arching when the horse surges uphill, resisting collapse when a shoulder dips around a rut, and resisting the twist that sneaks in as the hindquarters step over a log. Sports science calls these anti‑extension, anti‑lateral flexion, and anti‑rotation demands. Riders feel them as the difference between riding the motion and being ridden by it. When you can hold your ribs softly knit toward your hips while breathing low and wide through the sides of your ribcage, you create a natural abdominal brace that stabilizes without stiffening your hips or hands.
Breathing: The On Switch
The diaphragm is both a breathing muscle and a postural muscle. It works best when you can inhale so the lower ribs expand like an umbrella and exhale long enough to feel the front of the pelvis and the ribs draw gently toward each other.
Try this on the floor:
- Place one hand on your belly and the other on your side ribs.
- Inhale through your nose and feel the lower ribs widen into your hand.
- Exhale slowly as if fogging a mirror, noticing the abdominal wall respond without clenching.
That subtle pressure management is the same support you’ll call on when a creek bed asks your trunk to stay calm while your legs step you into a light seat.
Drills That Translate to the Saddle
Simple “anti‑movement” exercises carry directly to riding because they teach your trunk to hold shape while your limbs move.
Dead bug: Lie on your back with your ribs heavy on the floor. Move the opposite arm and leg away. The goal isn’t range, it’s keeping your ribs from flaring and your pelvis from tipping as the lever length changes.
Bird dog: In quadruped, extend one leg and the opposite arm without letting your hips hike or your spine sag. Trade sides with your breath as a metronome.
Side plank (knees): Build lateral control from a long line shoulder‑to‑knee. The lift comes from the midsection, not from shrugging into your neck.
Short, tidy sets, 20–30 seconds of work, a calm breath reset, then repeat, teach your body to meet force with timing rather than tension. Two or three brief sessions a week are enough to feel the difference when your horse hesitates at a muddy patch and you stay quietly centered instead of tipping forward into the reins.
Why Coordination Wins
What makes these drills useful is not brute strength; it’s coordination. Pressure‑mapping studies in riding show that when a rider’s trunk stays steady, the saddle records fewer abrupt pressure spikes from left to right and front to back. Fewer spikes mean clearer messages to the horse’s back. On a trail, where attention is split between footing, foliage, and the path ahead, a stable center also protects your decision making.
Fatigue usually shows up first in the trunk as held breath, an arched low back, or a tuck under the pelvis. Each pattern stiffens the hips and travels down to the hands and heels, exactly when your horse most needs you to soften and follow. Building a core that can hold shape while you keep breathing is the antidote.
Carry It to the Saddle
Picture a small “rib‑to‑hip” connection you can take from the living room to the trailhead. Before you mount, take three quiet breaths standing: inhale to widen the ribs, exhale to feel the front of the ribs and pelvis draw toward each other, then maintain that light wrap as you move.
When you ask for a light seat on a gentle downhill, keep that connection and let the hips hinge back with soft knees and ankles; you’ll feel your trunk suspend rather than slump. If the horse trips or spooks, the same connection buys you a fraction of a second where your hands can stay with the neck instead of jerking back.
Common Pitfalls to Avoid
Working hard isn’t the same as working well. Watch for:
- Bracing the abs until you can’t breathe. It may feel stable, but the first surprise on trail will break that brace, and the rebound will be abrupt.
- Over‑tucking the pelvis. Flattening the natural lumbar curve steals shock absorption from your hips.
- Over‑arching the low back. This shifts load into the lumbar spine and also robs you of shock absorption.
Most of these habits improve when you lower your breath, lengthen your exhale, and imagine growing tall through the crown of your head as your ribs settle over your pelvis. A quiet seat comes from small, repeatable cues performed consistently, not from heroic effort.
What Improves Next
As core stability takes root, everything else organizes around it. Your hands can follow the neck without wobble, which makes rein contact steadier and kinder. Your eyes stay up because you’re not working to keep your torso quiet, which gives your horse confidence in your line. Most importantly, your legs are freed from the job of clamping you in place and can focus on clear, light aids. That’s the moment to turn toward lower‑body strength and hip control, the next layer that keeps your leg present without gripping and helps you stand softly in a half‑seat when the trail turns down.
Lower-Body Strength and Hip Control: Power Without Gripping
When the trail tilts or the footing changes, your legs become both shock absorbers and steering stabilizers. The goal isn’t a vise-like squeeze; it’s steady contact from hip to heel that lets your horse move freely while you stay centered. For beginner trail riding, think power through the hips, softness through the knees.
On our coastal loop at Second Chance Ranch, Jamie, a new rider, found downhills tiring and wobbly. Over three weeks, they practiced sit-to-stands and step-ups at home every other day, then added short wall-sit intervals and mini-band walks. On their next ride, Jamie mounted with less effort and held a quiet half-seat on descents without leaning on the reins. Their knees felt better afterward, and their horse stayed relaxed and rhythmic.
Train Mounting Mechanics: Sit-to-Stand and Step-Ups
These drills mirror the rise from the saddle and the swing to the stirrup. Use a chair that puts your hips just above knee height and a low step with a railing. Practice equal pressure through both feet so your first mount feels stable and balanced.
Hold a Quiet Position on Descents: Wall-Sit Intervals
Short holds teach the thighs to support you without gripping at the knee. Try 20–40 seconds on, 20–40 seconds off for 3–5 rounds. This steady support helps you maintain a calm half-seat going downhill without relying on the reins.
Steady Knee Tracking: Mini-Band Lateral Walks
Side steps with a light band engage the outer-hip muscles that prevent knees from collapsing inward. Take 10–12 slow steps each way, keeping toes forward. Expect clearer hip control and less ankle wobble on uneven ground.
Consistent Contact Without Pinching: Adductor Squeezes
Place a pillow between the knees or mid-thighs and exhale gently as you squeeze for 5–8 breaths. This builds inside-thigh support so the knee stays soft, helping you feel more wrapped around the saddle without clamping.
Hip-Centered Control: Slow Lowering on Step-Ups
Step up with control, then take three counts to lower. The slow return strengthens hamstrings and glutes for smooth transitions in and out of two-point, and it teaches the same control you need to settle back into the saddle after a slope.
Put It Together
Stronger hips and legs make quiet riding possible without a knee clamp. Pair this strength work with a quick mobility routine so your hips, ankles, and upper back can move as freely as your horse does.
Mobility That Matters: Hips, Ankles, and Upper Back
Mobility work can look similar on the surface, lots of stretching and moving, but what you choose and when you use it changes how you feel in the saddle. The key differences are passive flexibility versus active, joint-specific mobility, and how pre-ride routines differ from daily maintenance. Understanding these helps you ride with a neutral pelvis, soft joints, and a quiet upper body instead of bracing or gripping when the trail pitches up or down.
Active Mobility Beats Passive Flexibility
Passive stretching aims to lengthen tissues by holding positions. Active mobility trains control at end ranges using the muscles that stabilize your joints. On the trail, control matters more than raw flexibility. A long hip flexor hold may make you feel looser, but leg-low control in hip extension, glute engagement while the front of the hip lengthens, is what keeps you out of a chair seat on climbs. Similarly, ankle dorsiflexion mobilizations with gentle calf activation translate better to supple heels and shock absorption than simply pulling the heel down.
Time It Right: Before vs. After You Ride
Before you ride, short active drills prepare your joints and nervous system without the temporary dip in force and stability that can follow long static holds. After you dismount or later in the day, static holds help ease residual tightness and expand comfortable range when performance demands are low.
Focus on the Three Hinges: Hips, Ankles, Upper Back
General stretching everywhere is less effective than targeted mobility at the three rider hinges that shape position. Uphill comfort improves most when you regain hip extension and pelvic control. Downhill stability improves when ankles flex freely so you can stay tall without grabbing the reins. A mobile thoracic spine lets your hands follow without your shoulders creeping toward your ears.
Try a short, focused circuit that mirrors what the trail asks of you:
- Hip flexor stretch with a gentle glute set
- 90/90 hip rotations
- Calf and ankle dorsiflexion work
- Open-books for the upper back
Make It Consistent, Not Complicated
Brief, consistent practice changes how you move far more than occasional long sessions because repetition teaches your brain to use new ranges under light, frequent load. Pre-ride, three to five minutes of active mobility usually “wakes up” the pattern; later, a slightly longer evening session can unwind hotspots. This cadence fits real schedules and leads to noticeable differences in mounting ease, quiet posting, and comfort on hills.
The Bottom Line
Use active, joint-specific mobility before you ride and save longer static holds for after. Prioritize hips, ankles, and the upper back rather than stretching everything. Short daily work builds better control than sporadic marathon sessions, and that control helps you maintain a neutral pelvis, absorb terrain through soft ankles, and keep steady hands. For beginner trail riding, this straightforward approach makes the horse’s job easier and your position more reliable without adding complexity to your routine.
Common Balance Mistakes on Trails, and How to Fix Them
Uneven terrain, lumpy footing, side slopes, surprise stumbles, magnifies small balance errors. When your eyes, joints, or hands tense, your horse feels it instantly and both of you work harder than necessary. Use the guide below to spot common pitfalls and apply simple corrections that keep you centered and your horse confident.
Eyes Down, Balance Down
Staring at your horse’s neck or the ground shortens your posture and delays reactions. Your body follows your gaze.
Correction: Keep your eyes up and scan 3–5 strides ahead; let peripheral vision track the footing. Use the cue “look where you want to go.” For example, when stepping over a root, eyes-up riders stay stacked over their center instead of tipping forward.
Locking the Joints Instead of Acting Like Springs
Bracing into the heels with stiff ankles, knees, and hips turns you into a rigid pole, so a stumble travels straight up your body. This often happens when riders try too hard to hold still.
Correction: Think “soft springs.” Keep tiny movements at the ankle–knee–hip and allow the heels to move a few millimeters with each step. Try a micro-drill: hinge slightly at the hips and stand a hair out of the saddle for three breaths, then sit, notice the elastic feel rather than a brace.
Pinching with the Knees
Gripping with the knees to feel secure pops your seat out of the saddle and swings the lower leg, which makes you less steady when the ground tilts.
Correction: Soften the knees and “wrap” with the thighs. Let weight travel from hip to heel with light calf contact. Quick check: you should be able to wiggle your toes inside your boots, if not, you’re gripping.
Using the Reins for Balance
Surprise bumps can trigger a reflex to grab the reins, which may jab the horse’s mouth and create more instability.
Correction: Slide a hand to a neck strap or a small hank of mane before rough sections. Keep elbows bent and hands low so the reins remain for communication, not support. A neck strap can help newer riders steady the upper body without pulling.
Collapsing a Hip on Side Slopes
On cambered trails, riders often sink into the downhill hip or drop one shoulder, tipping the torso and shifting the saddle. This makes the horse work harder to stay balanced.
Correction: Stay vertical to gravity, not to the saddle. Lengthen the uphill leg slightly, level your shoulders, and feel even pressure across both stirrups for three strides. Re-check every few seconds as the slope changes.
Standing Straight Up Instead of Hinging
Popping straight up over the stirrups (hips ahead of heels) in a light seat is tippy and tiring, so balance fades fast on bumpy tracks.
Correction: Hinge at the hips with a long spine. Keep your seat just off the saddle and stack ear–shoulder–hip–heel over the mid-foot. Practice 5–10 quiet steps at a walk, rest, and repeat; add time only when you can stay steady.
Keeping your eyes up, joints soft, and hands independent lets the horse move freely and helps you stay resilient to surprises. With these quick checks and corrections, uneven terrain becomes a training ground for calm, controlled riding, ideal for beginner trail riding.
Endurance and Pacing for Real-World Trails
Many riders assume trail endurance is either “not my job, the horse does the work” or, on the other hand, that you need hard runs and intense intervals to be ready. That mindset often leads to starting fast, skipping water, and trying to gut it out when the trail gets long.
Endurance on the trail is less about suffering through speed and more about managing a steady effort you can hold while keeping your posture, hands, and breathing calm. When you push past your limit, form breaks down, and that’s when reins get heavy, legs start gripping, and small stumbles feel big.
Train the Engine You Use Most
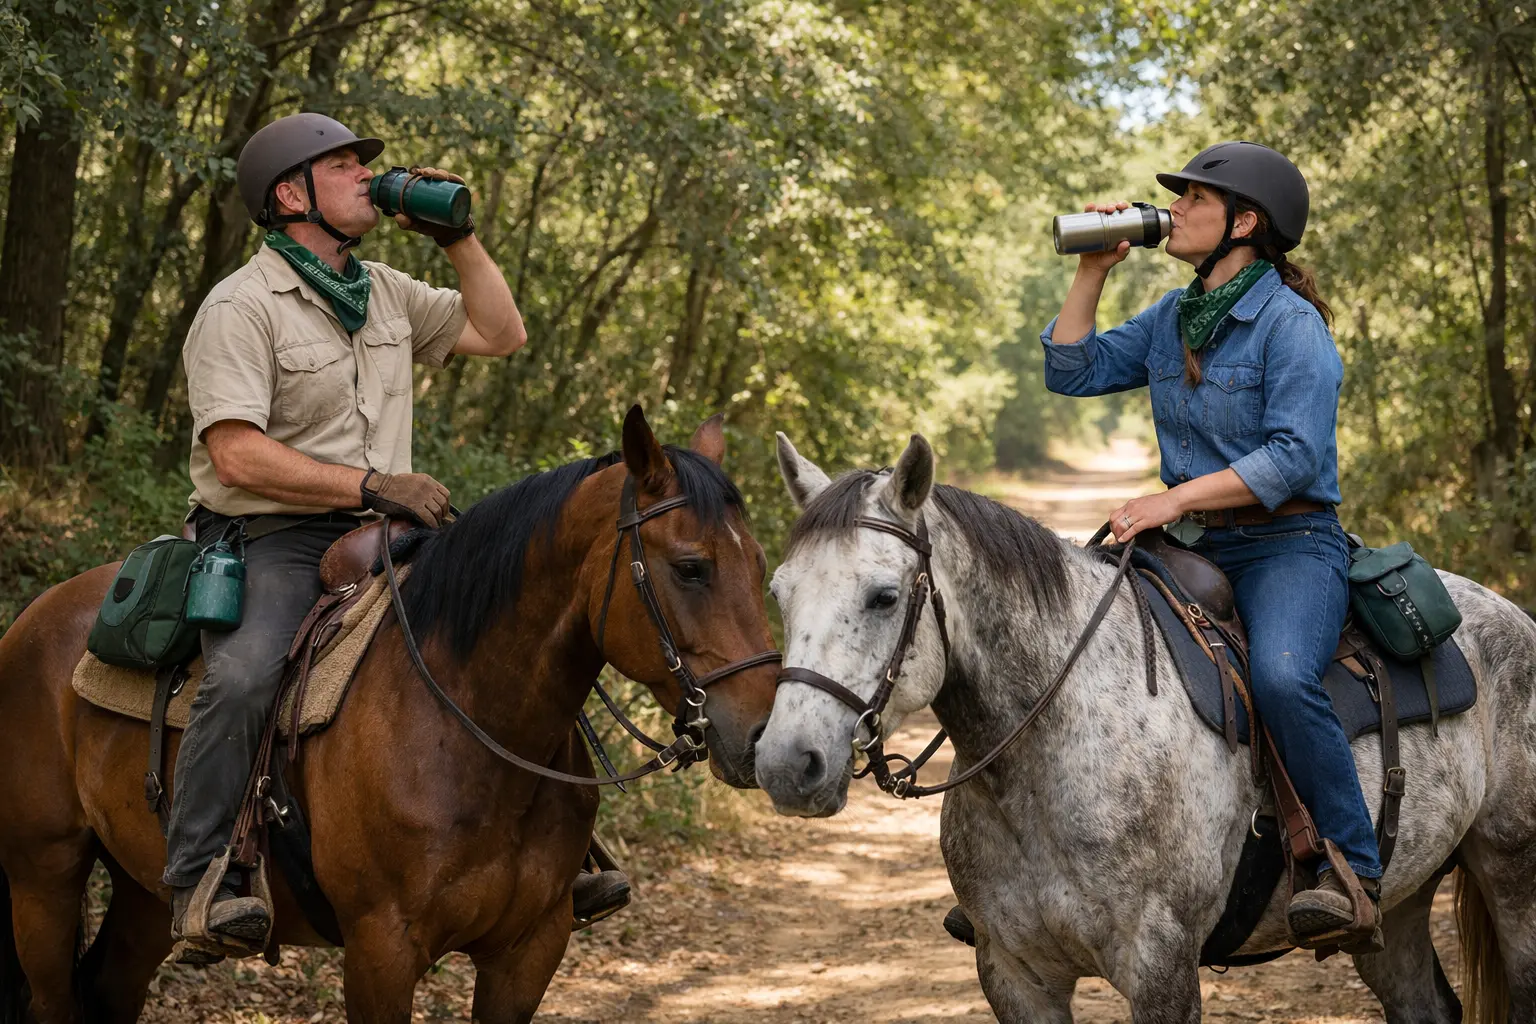
Moderate, conversational‑pace cardio builds the exact engine most trail rides use. General fitness guidance supports 150 minutes per week of moderate activity like brisk walking, and riders typically spend most of a trail in that same effort zone. In our guide operations, groups that begin at a relaxed pace, take brief stretches‑and‑breathe breaks, sip water regularly, and snack early finish steadier and handle hills with better balance than groups that charge out fast. Within four to six weeks of 2–3 moderate sessions weekly, most beginners notice they can hold a half‑seat longer on descents, recover quicker after climbs, and keep their hands quieter late in the ride.
Practical Pacing on the Trail
For beginner trail riding, think of stamina as energy management: start easy, ride the middle comfortably, and finish with form intact. Train most days at a pace where you can talk, protect your posture with micro‑breaks, and treat water and snacks as riding aids, not afterthoughts.
- Start at a relaxed pace so your rhythm settles before you add effort.
- Take a brief stretch‑and‑breathe breaks to reset posture and tension.
- Sip water regularly and snack early to stay clear‑headed and steady.
This simple shift helps you ride with quiet hands, kinder hips, and balanced cues, keeping you comfortable and your horse moving freely, ready for whatever the trail brings next.
When you step back from individual drills, a larger pattern comes into view: rider readiness is becoming the quiet standard shaping safer trails, better guest experiences, and kinder miles for horses. The habits you build now do more than steady one ride, they influence how confidently you choose routes, handle conditions, and partner with your horse over seasons, not just hours.
The Shift From Tips to Standards
Across the industry, guided programs and parks are formalizing what used to be informal advice. More outfitters now include pre-ride education in booking emails, ask simple readiness questions at check-in, and teach a brief on-the-ground warm-up alongside the helmet and tack check. These changes aren’t about perfection; they’re about risk management and horse welfare. A rider who has done a few minutes of mobility, understands pacing, and can hold steady balance needs fewer mid-ride corrections, keeps group spacing more predictable, and places less uneven pressure on the horse’s back, small wins that add up to safer outings and more comfortable horses.
What Readiness Delivers on the Trail
For riders, the long-term gains are practical. Basic strength and balance turn surprises on the trail, loose gravel, a quick sidestep, into manageable moments instead of emergencies. Better stamina preserves judgment late in the ride, when most mistakes happen. And because horses read tension, a steadier, quieter body builds trust over time, making hills, water, and new terrain feel routine rather than risky. This is especially meaningful for families, returning riders, and older adults who want to keep exploring with confidence; a simple at-home routine keeps the door open to more experiences without requiring a gym or complex program.
Trends Raising the Stakes for Preparation
Looking ahead, climate and participation trends make readiness even more relevant. Hotter summers and variable conditions reward riders who understand pacing, hydration, and micro-breaks. As more people discover horses through travel and outdoor experiences, beginner trail riding will remain a gateway into the sport. The operators leading the way are the ones teaching “why” as much as “how”: encouraging riders to gauge effort with simple RPE cues, to match terrain to fitness, and to think about symmetry as a kindness to the horse. Even lightweight tech, like a step counter or a basic heart-rate read, can turn casual walking and short routines into a consistent, low-friction habit that pays off every time you mount up.
The Strategic Takeaway
Preparation, done simply and often, turns miles into a smooth conversation with your horse. Treat rider fitness as part of the ride, not homework, and build it with quiet alignment, steady breath, and joints that move like springs. Use your baseline to target the few habits that matter, then pair short core and hip work with active mobility and patient pacing so form holds when the ground changes.
The payoff is clear: steadier hands, kinder weight, and a horse that reads your intent without noise. Pick one small action, do a 5–8 minute warm-up, take a brisk walk, or retest a check, and start building the calm, capable trail partner you came here to be.
FAQs
Getting ready for trail rides is less about gym PRs and more about steady control, comfort, and clear communication with the horse. This Q&A walks through beginner horseback riding fitness essentials so you can start confident and build smart.
Q: What does “beginner horseback riding fitness” for trail rides include, and how fit do I need to be?
A: It’s a practical prep plan so you can ride quietly and comfortably on real trails. It includes quick at-home baseline checks, a 5–8-minute warm-up, simple core/hip/leg work, targeted mobility for hips, ankles, and upper back, plus pacing, breathing, and basic safety habits. If you can brisk-walk 20–30 minutes at a conversational pace and mount smoothly (ideally with a block), you’re ready to start and build from there. Most riders feel steadier within 4–6 weeks of short, consistent practice.
Q: Why do alignment, breathing, and core stability matter for horse comfort and safety on trails?
A: Neutral pelvis and ear–shoulder–hip–heel alignment distribute your weight evenly, which lets the horse lift the back and step under for a smoother, safer stride. Pressure-mapping studies show that even small rider asymmetries create pressure spikes that can make a horse shorten the stride or hollow the back. Steady breathing supports trunk control so your hands stay light and consistent instead of grabbing for balance. On hills and uneven ground, that quiet stability improves both comfort and confidence.
Q: How does a quiet, balanced seat work, and how does it shape rein contact and the horse’s movement?
A: A quiet seat “filters” the horse’s motion rather than fighting it, limiting extra arching, side-bending, and twisting while you keep breathing. With the trunk steady, your hands can follow the neck softly, so rein contact stays light and informative. That freedom helps the horse lift the back and take measured steps, especially on descents. The result is clearer signals, fewer accidental tugs, and a smoother walk.
Q: What balance and posture mistakes show up on uneven trails, and how do I fix them?
A: Common errors include looking down, locking your joints, pinching with the knees, using the reins for balance, collapsing a hip on side slopes, and standing straight up instead of hinging. Fix them by keeping eyes up 3–5 strides ahead, letting ankles–knees–hips act like soft springs, and wrapping with the thighs while the knees stay soft. Use a neck strap or a small hank of mane for steadiness instead of the reins. On side slopes (cambers), stay vertical to gravity, lengthen the uphill leg slightly, and keep even stirrup pressure; in a light seat, hinge at the hips with a long spine.
Q: What simple at-home checks and basic pre-ride steps prepare beginners for trail rides?
A: Try these quick checks and re-test every four weeks, noting left/right differences:
- Wall sit: 30–60 seconds
- Single-leg stand: 20–30 seconds per side
- Modified plank: 20–30 seconds
- Step-ups: 8 reps per leg
- Brisk walk: 20–30 minutes at a talking pace
Before you ride:
- Use a mounting block when possible and confirm you can mount smoothly without yanking the saddle.
- Ask your guide for help adjusting stirrups.
- Bring or request a neck strap for rough sections.