What Should You Expect On Your First Guided Trail Ride?
If you are preparing for your first guided trail ride, the most important thing you need is not advanced riding skill but a clear idea of what the experience will feel like
The first time you ride a horse on a trail, the uncertainty tends to be more stressful than the ride itself. Most beginners want to know whether they will feel stable, whether the horse will listen, what happens if the horse stops for grass, and whether they are supposed to “do” more than they actually need to do. That is why guided trail riding works so well as an introduction. It gives beginners a controlled environment, a horse that already understands the job, and a guide who turns a long list of unknowns into a predictable sequence of small, manageable steps.
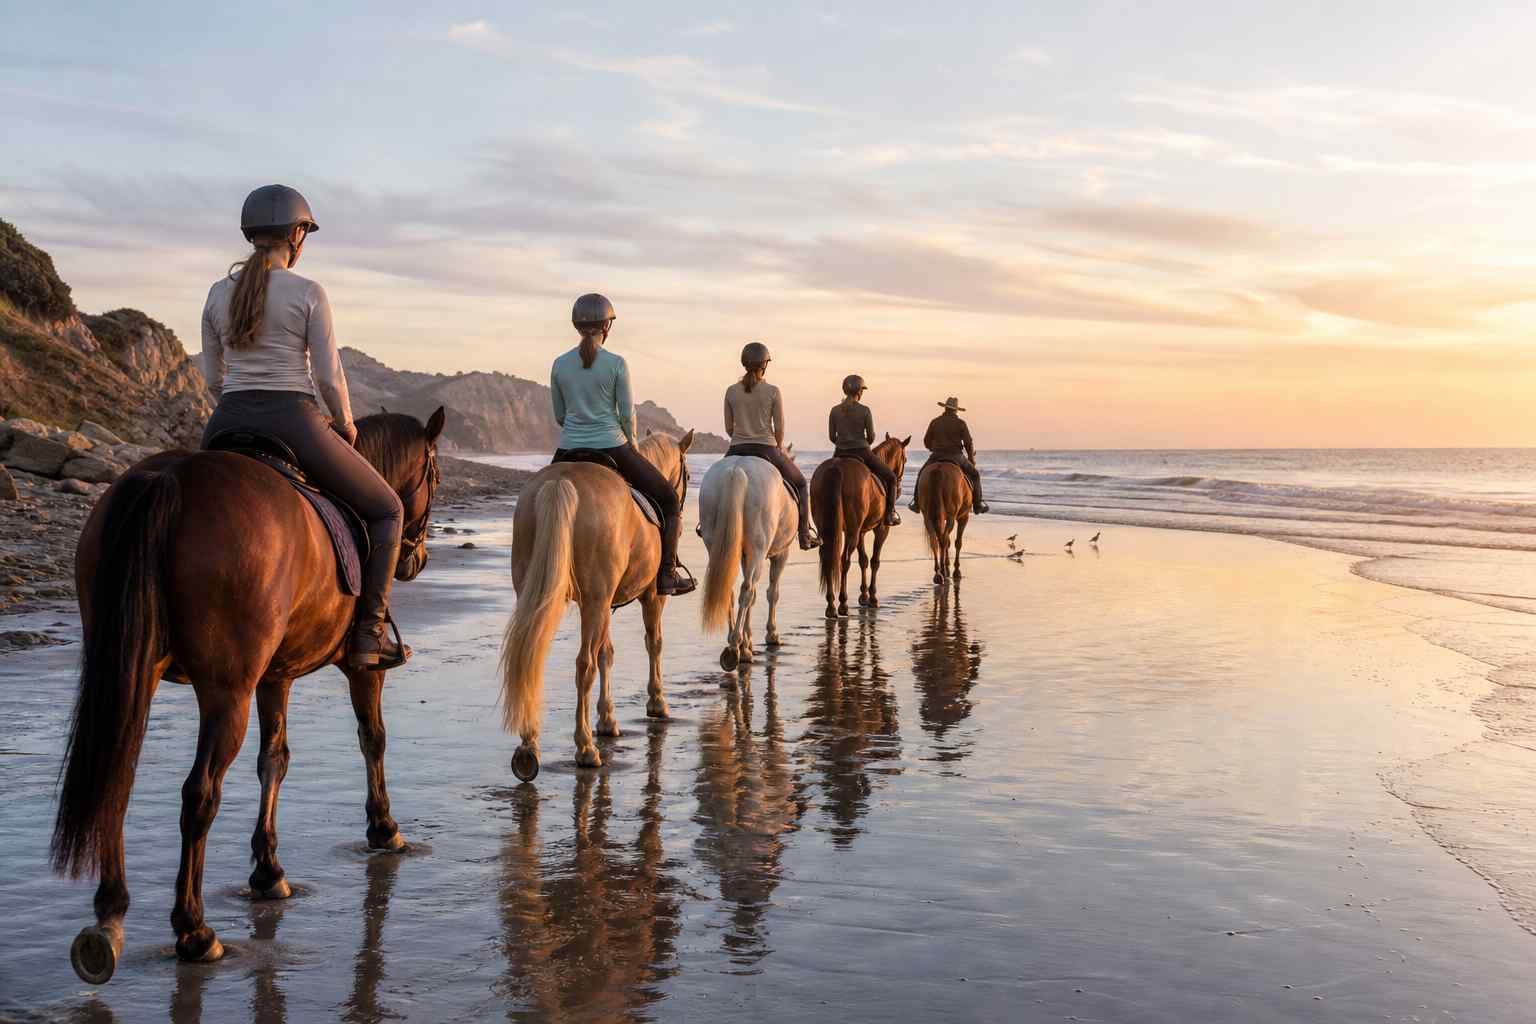
A well-run beginner trail ride is less like a formal riding lesson and more like a scenic walk from the saddle. The horses usually know the route, the group moves in a line, and the pace is set for the least experienced rider rather than the most confident one. Penn State Extension recommends riding at the speed that is comfortable and safe for the least experienced rider in the group, which is exactly why guided trail rides are designed to stay calm and steady instead of fast and technical. 3
What Should You Wear On Your First Trail Ride?
What you wear affects more than appearance. It shapes how comfortable, balanced, and secure you feel from the moment you mount. For most beginners, the best clothing choices are simple: closed-toe shoes or boots with a small heel, long pants, weather-appropriate layers, and a properly fitted helmet. These basics reduce avoidable discomfort and help you stay safer in the saddle.
A small heel matters because it helps keep your foot from slipping too far into the stirrup. Long pants matter because they protect your legs from rubbing on the saddle or horse. Fitted but flexible clothing matters because you need to move easily without loose fabric catching or distracting you. If the weather is variable, layers are better than one heavy item because a cool morning can become warm quickly once the ride begins. Bringing a phone in a secure pocket rather than in your hand is also a practical choice; your hands should be free for the reins, and beginners are better off asking for a photo stop than trying to multitask while moving.
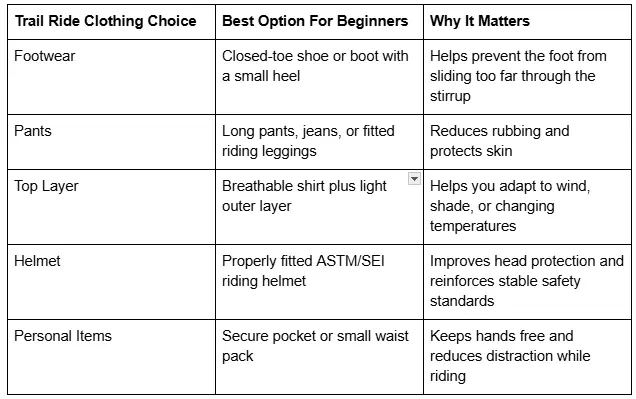
If you are wondering whether the helmet is really necessary for a slow trail ride, the evidence strongly suggests that it is. The American Medical Equestrian Association estimate cited by both NIH/PMC and the University of Connecticut indicates that ASTM/SEI-approved helmets have reduced riding-related head injuries by 30% and severe head injuries by 50%. 1 2 Even on quiet rides, horses remain large animals moving over uneven ground, which makes the helmet a practical decision rather than a symbolic one.
What Happens When You Arrive At The Stable?
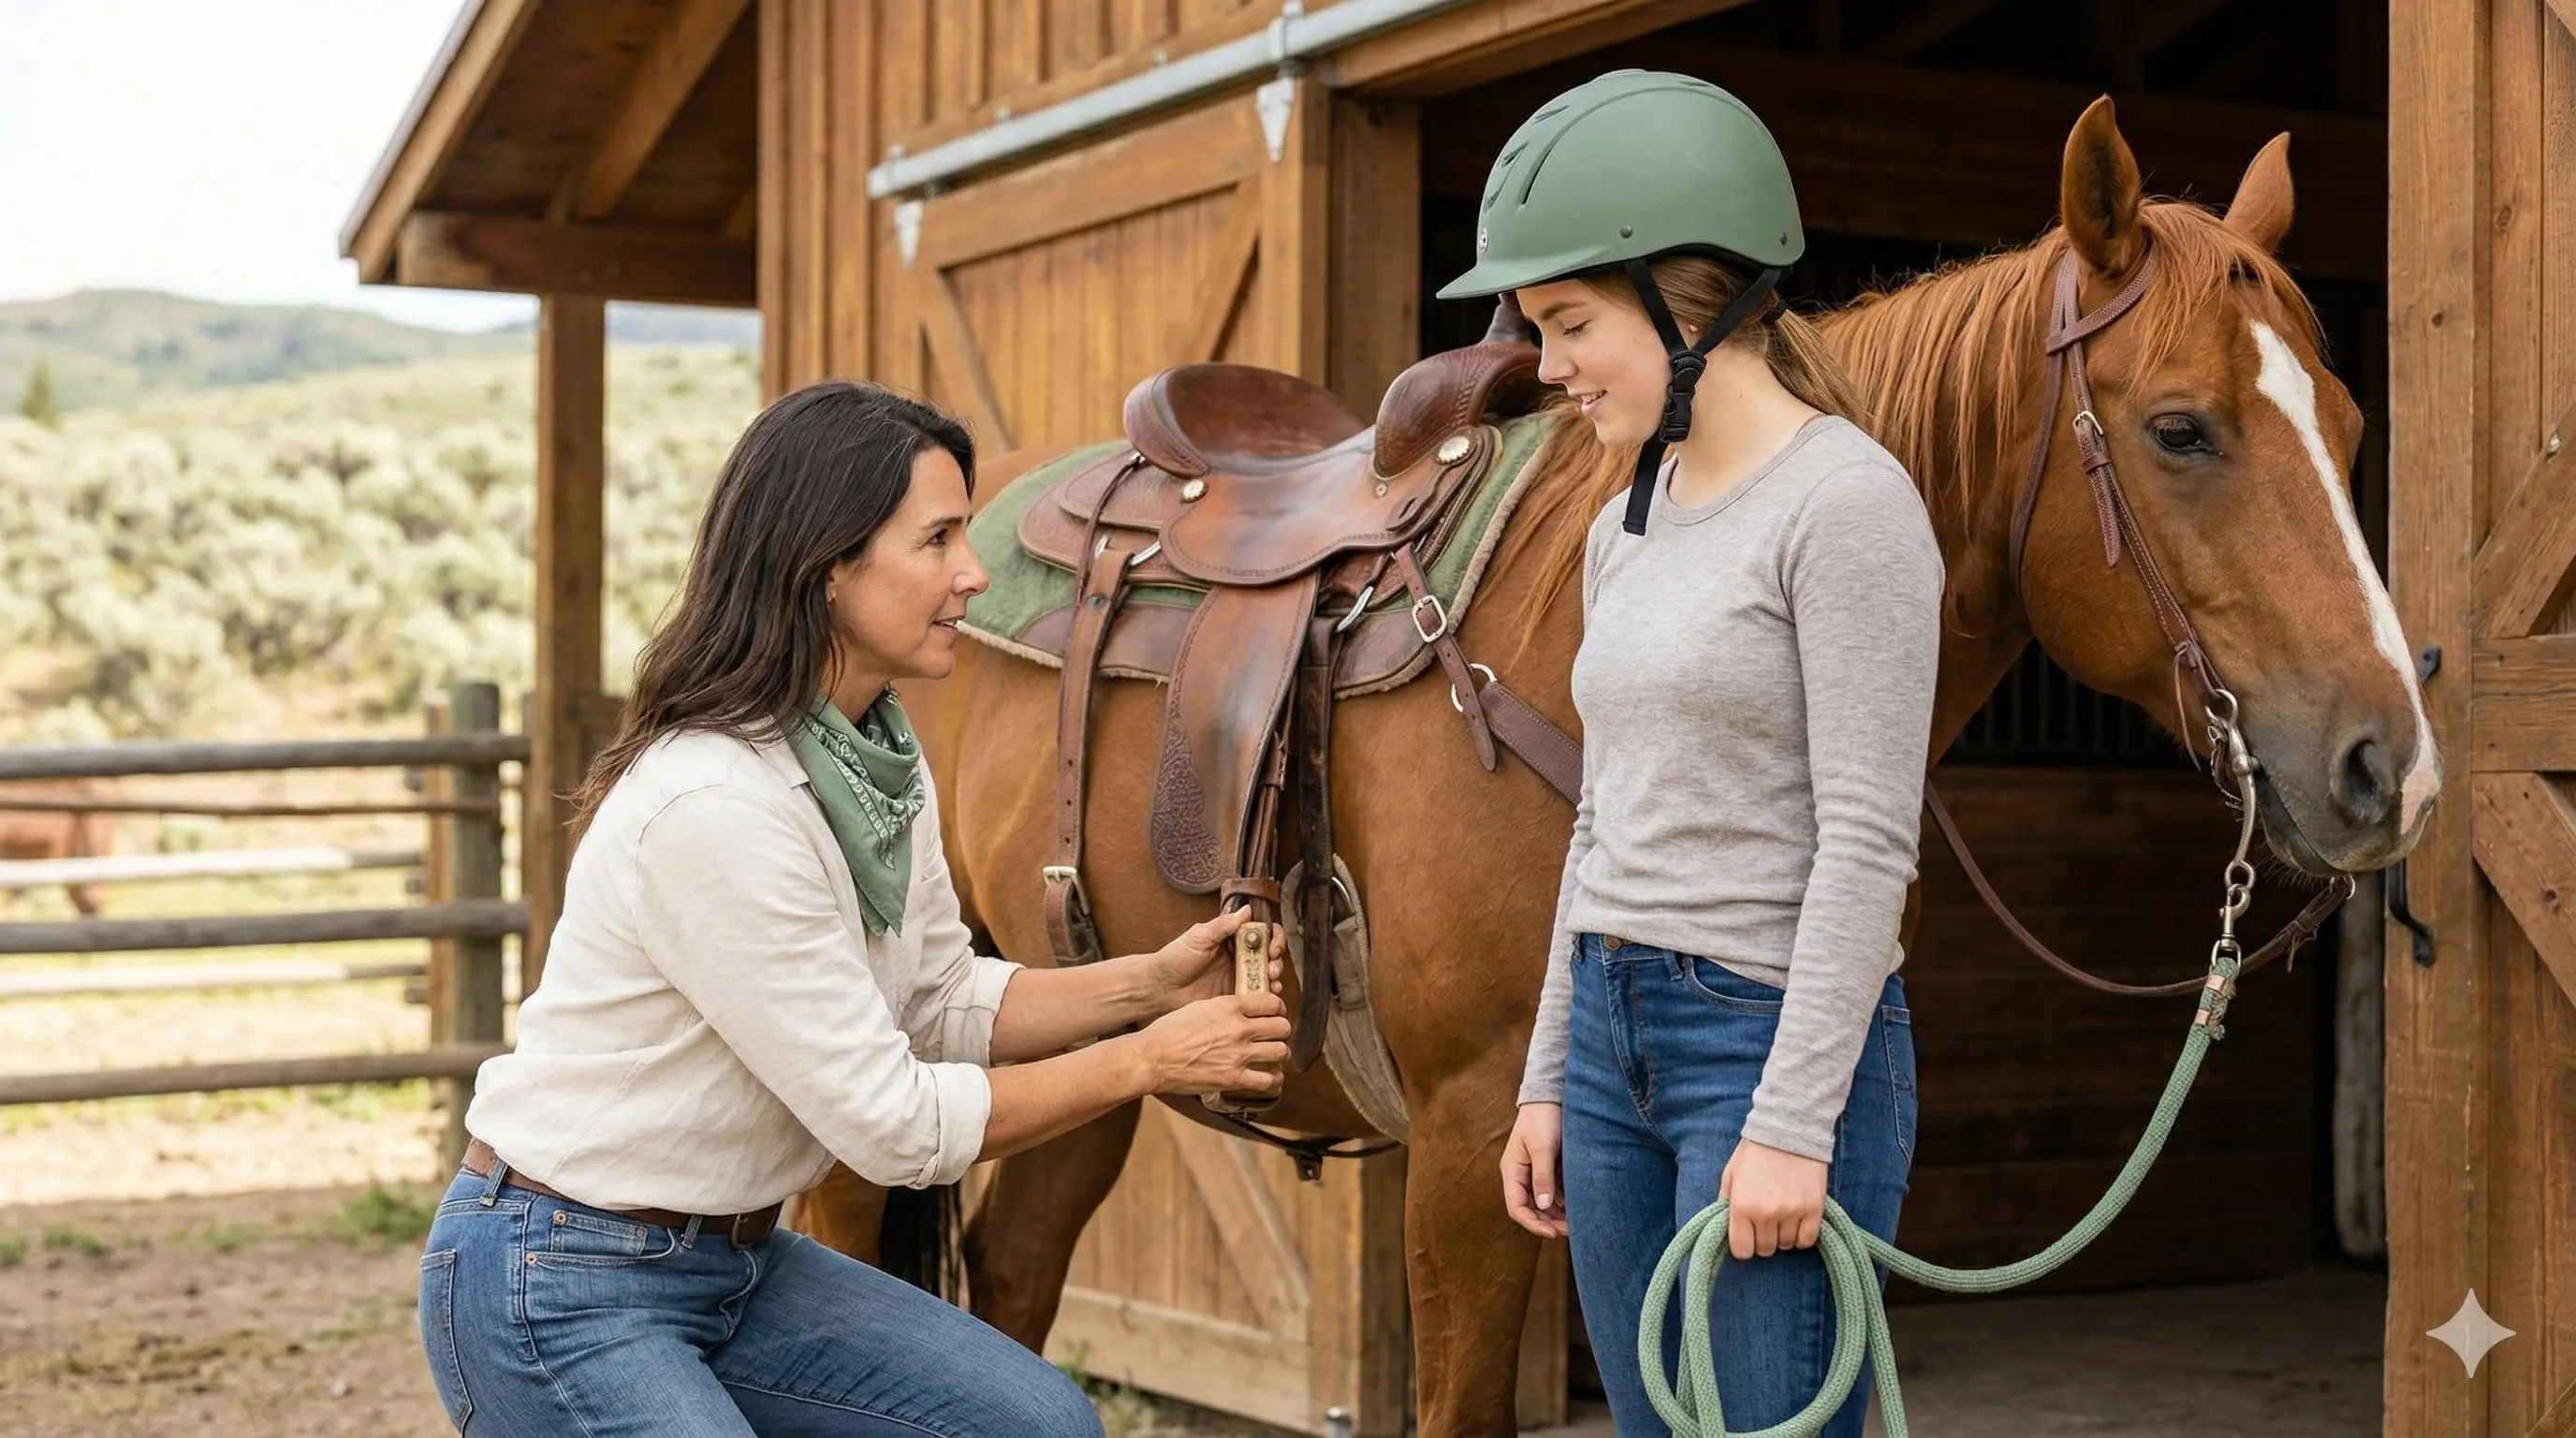
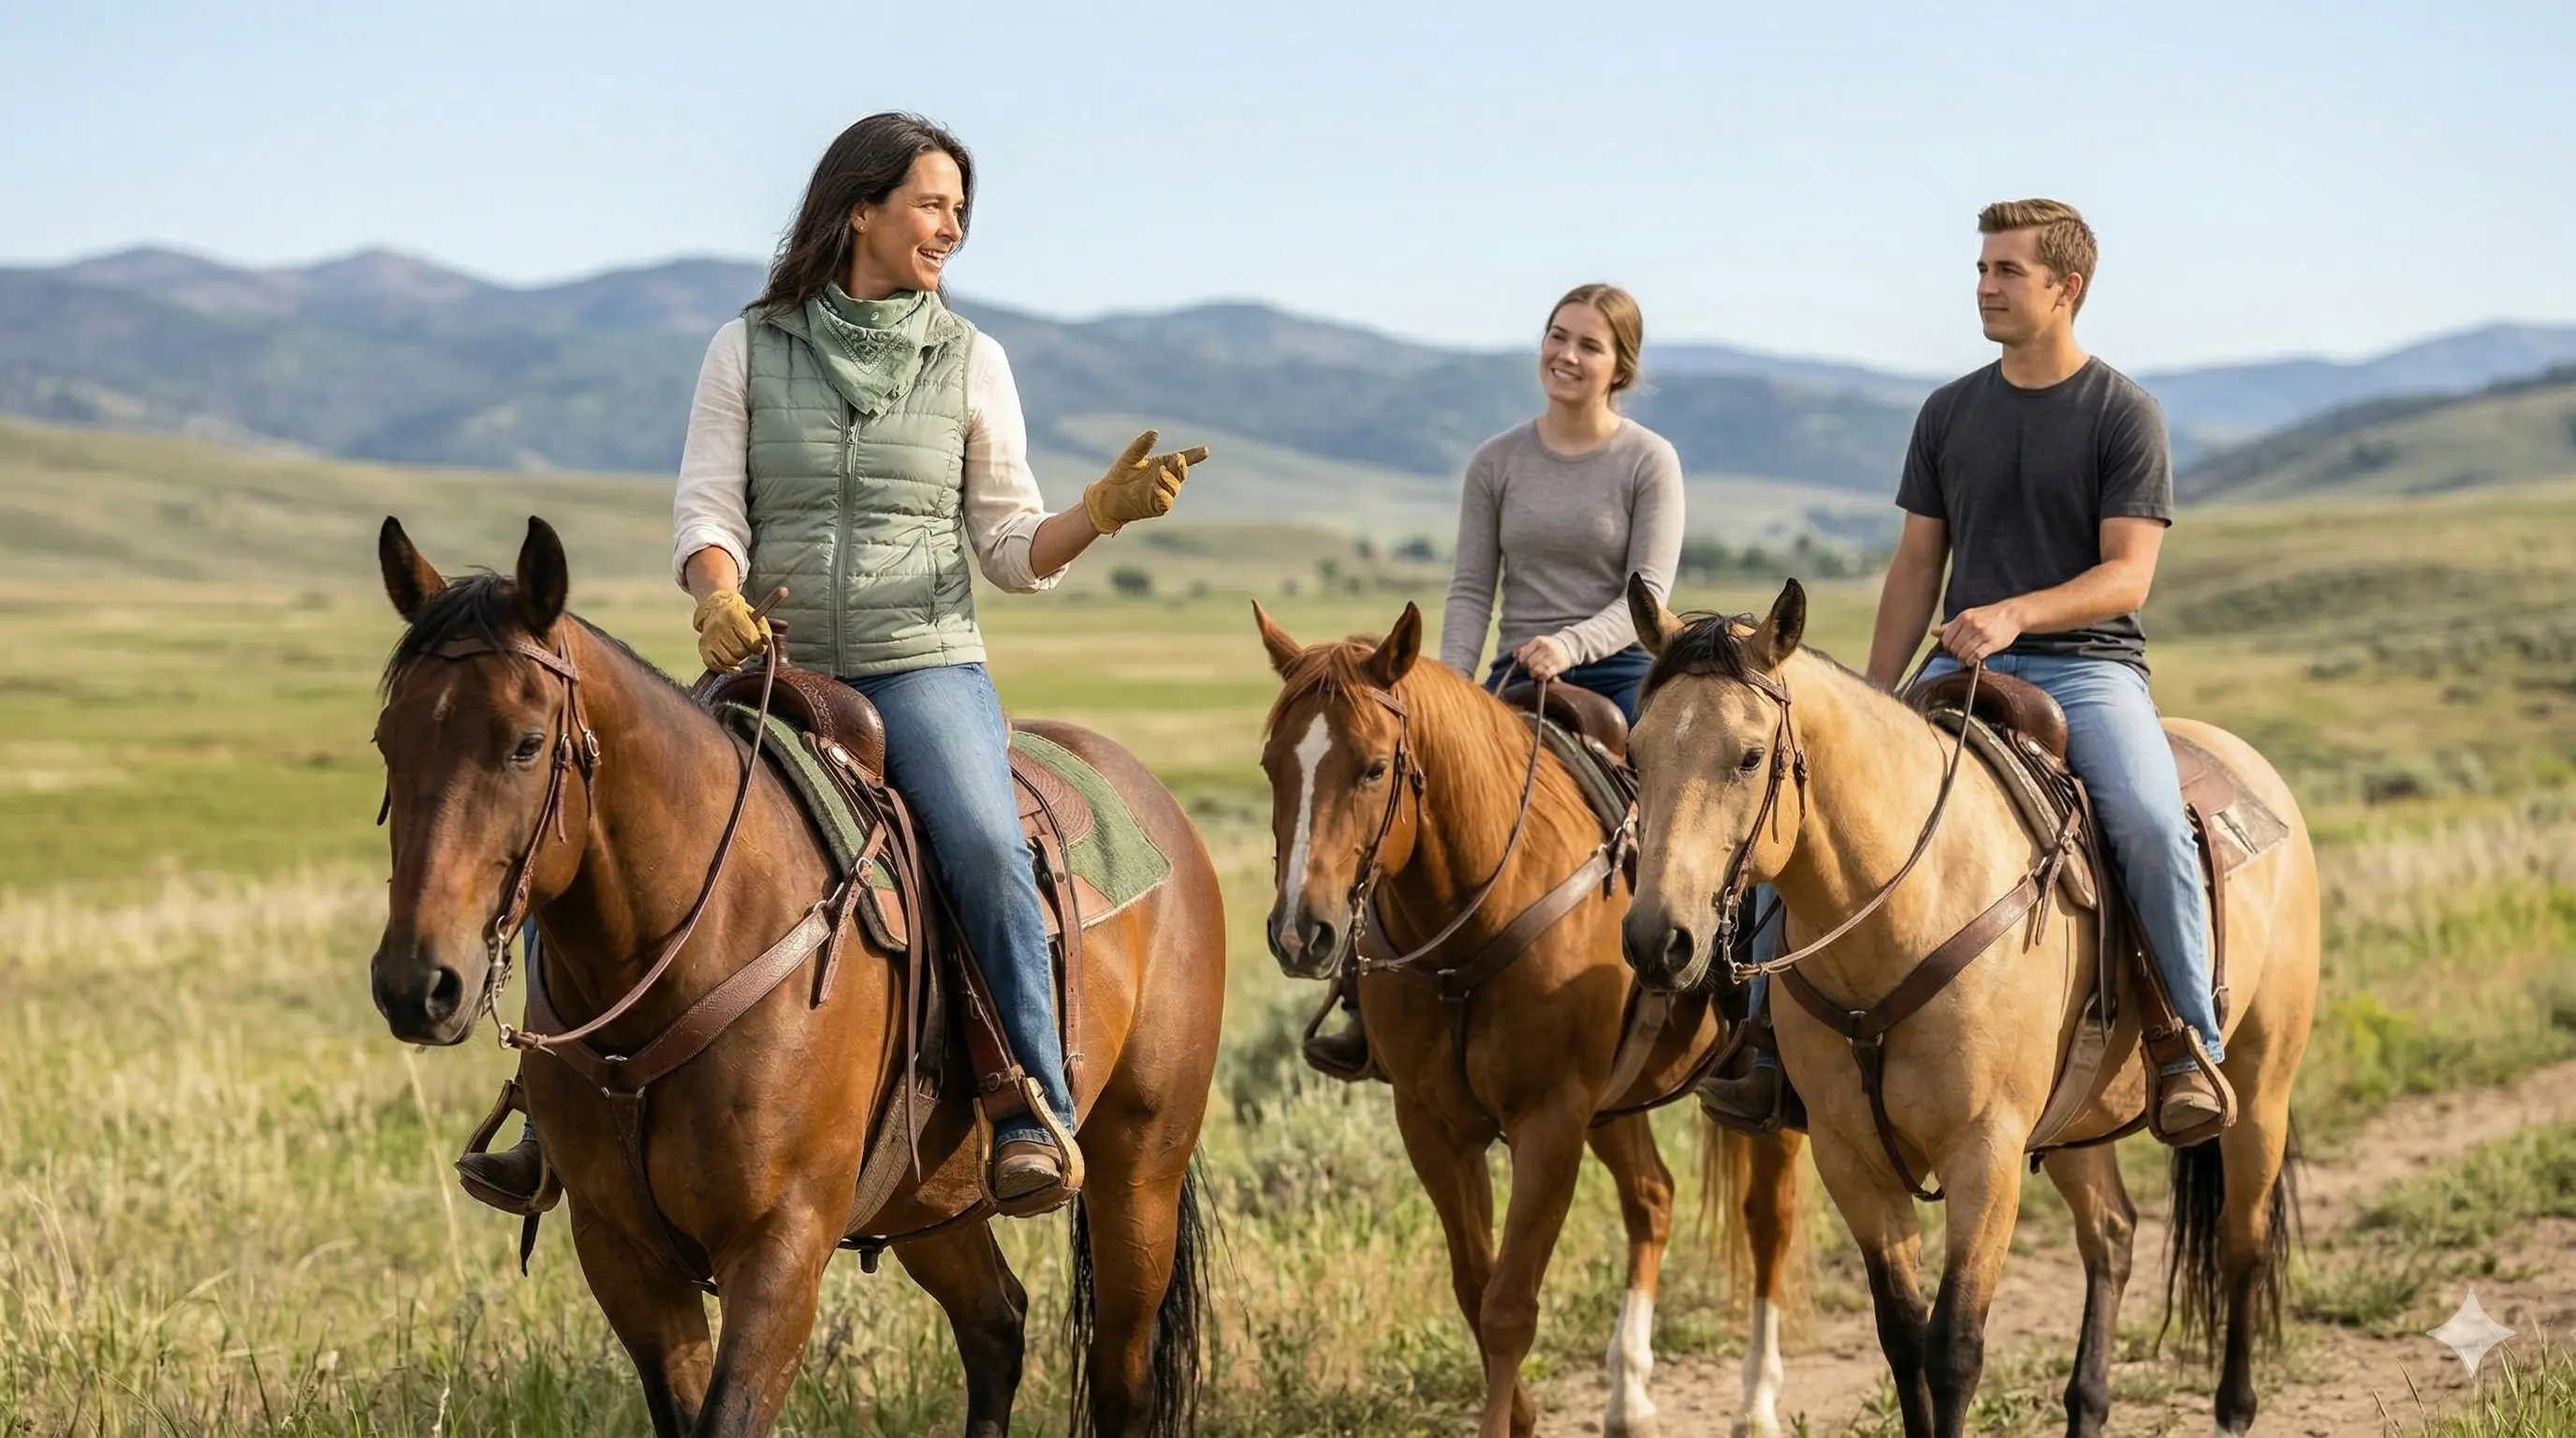
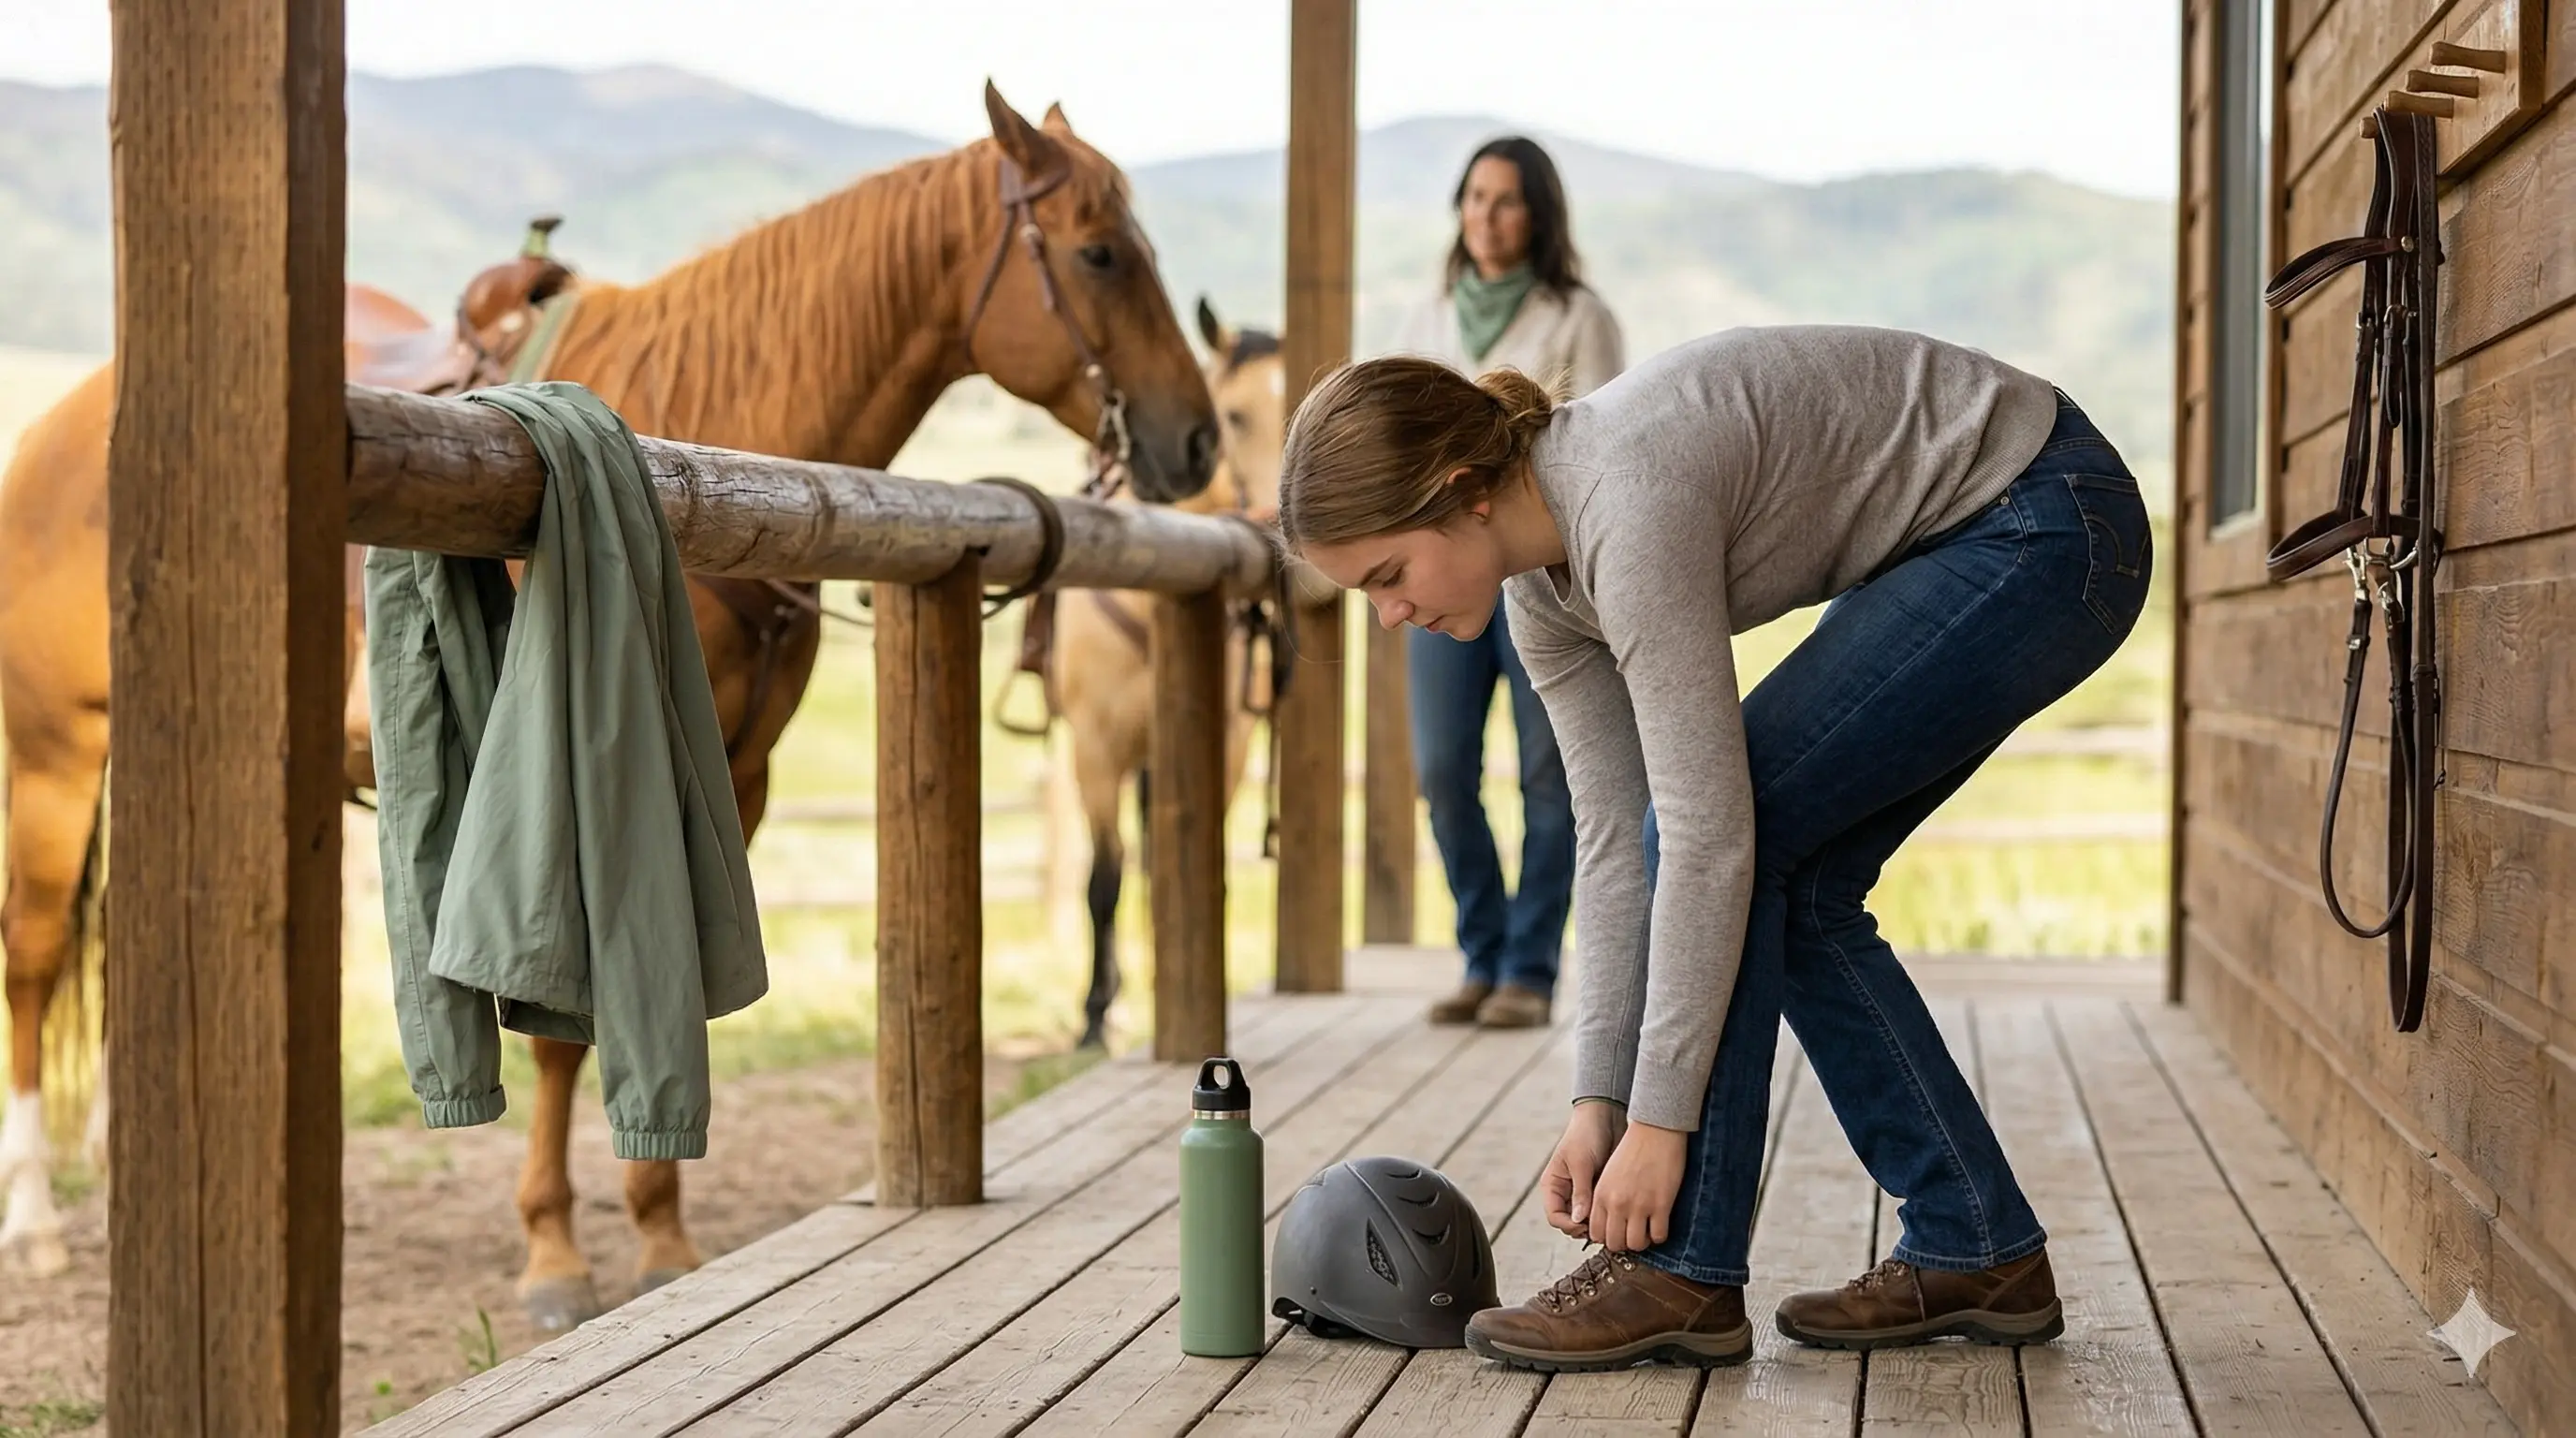
For beginners, the arrival process often sets the emotional tone for the whole ride. You arrive, check in, sign a waiver, confirm your riding experience, get fitted for a helmet if needed, and wait for the guide’s briefing. That structure may feel procedural, but it is designed to make the experience smoother both for riders and for the horses that will carry them.
The stable may ask questions about your age, weight, confidence level, or prior riding experience. Those questions are not there to make anyone self-conscious. They help the staff match riders with horses appropriately and organize the line in a way that supports the group. A nervous first-time rider might be placed closer to the front, where the guide’s voice is easier to hear. A family may be arranged so a parent rides near a child. These details may seem small, but they contribute to the overall calm of the ride.
This is also the point when the stable checks practical things that many beginners would not think to monitor on their own. Penn State Extension emphasizes pre-ride tack inspection and proper stirrup length, noting that the bottom of the stirrup should reach the rider’s ankle bone when the foot is out of the stirrup. 3 That kind of adjustment affects comfort and balance immediately. When the staff double-checks your stirrups, girth, helmet fit, and footwear, they are helping prevent the little discomforts that can become distracting once the group starts moving.
What Should You Listen For During The Safety Talk?
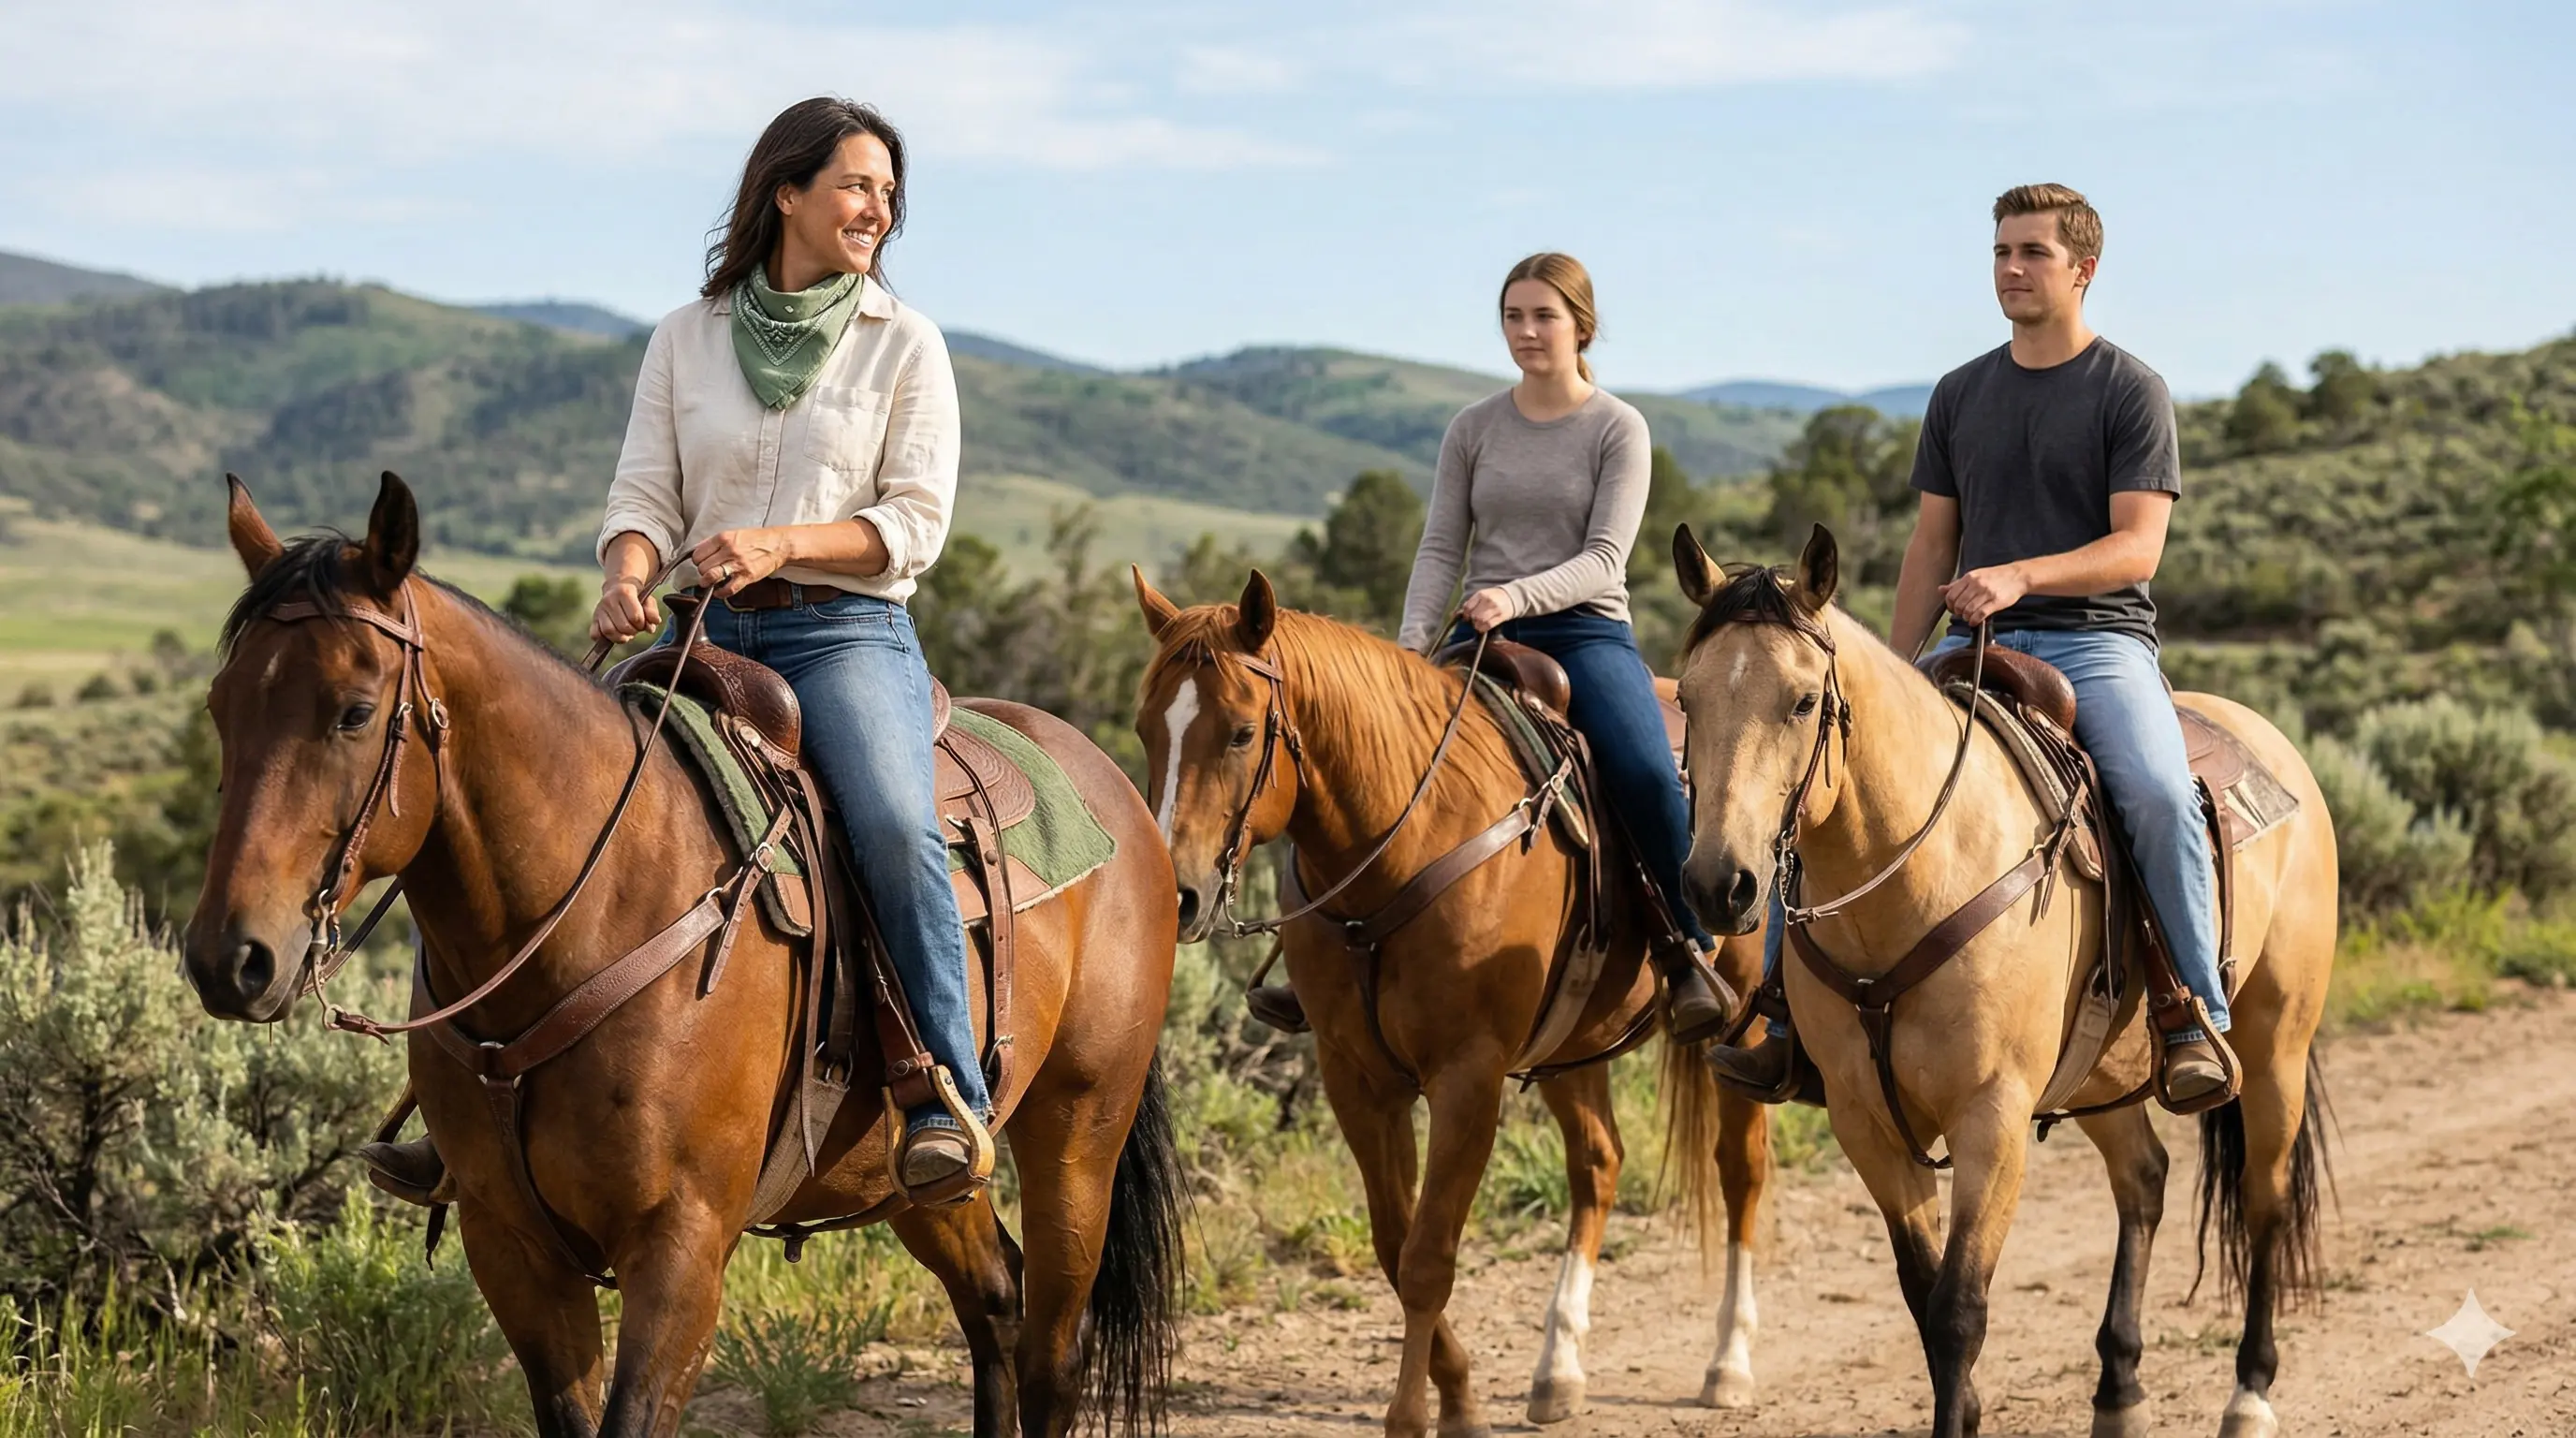
The pre-ride briefing is where the stable translates horseback riding into beginner-sized instructions. If you are new, this short talk matters more than almost any internet tip you read in advance because it tells you exactly how this stable wants you to ride these horses on this trail. The terminology may vary slightly between Western and English tack, but the core beginner instructions are usually the same: keep your heels gently down, look up, hold the reins evenly, stay behind the horse in front of you, do not pass unless instructed, and speak up if you need help.
The safety talk also explains how the group will move. Most beginner trail rides go in single file, with the guide at the front and sometimes a second guide at the back. The front rider sets the rhythm, and everyone else follows. This matters because trail horses are typically most relaxed when the group remains steady and predictable. For a beginner, that means your task is not to “manage” every movement but to participate in the group pattern without interrupting it.
A useful mental filter during the briefing is to listen for three categories of instruction: how to sit, how to ask, and how to react. How to sit covers posture, stirrup position, and balance. How to ask covers making the horse go, stop, or turn. How to react covers hills, spacing, or what to do if something feels wrong. Once you sort the instructions that way, the whole ride becomes much easier to understand.
How Should You Mount And Settle Into The Saddle?
Mounting tends to feel like the moment when horseback riding becomes real. Until then, you have been watching, listening, and preparing. Once you step onto the mounting block and swing into the saddle, you are suddenly higher off the ground, and the horse beneath you feels very alive. That feeling is completely normal, and it usually fades once you settle and begin to follow the horse’s motion.
A guide will typically help keep the horse still while you mount. After you sit down, the most important thing is not to rush. Let your legs drape down, place the ball of each foot in the stirrup, and let your heels soften slightly downward. Keep your hands low and quiet rather than lifting them nervously. Then breathe. That slow exhale matters. It helps release the stiffness that many beginners carry into their shoulders and knees.
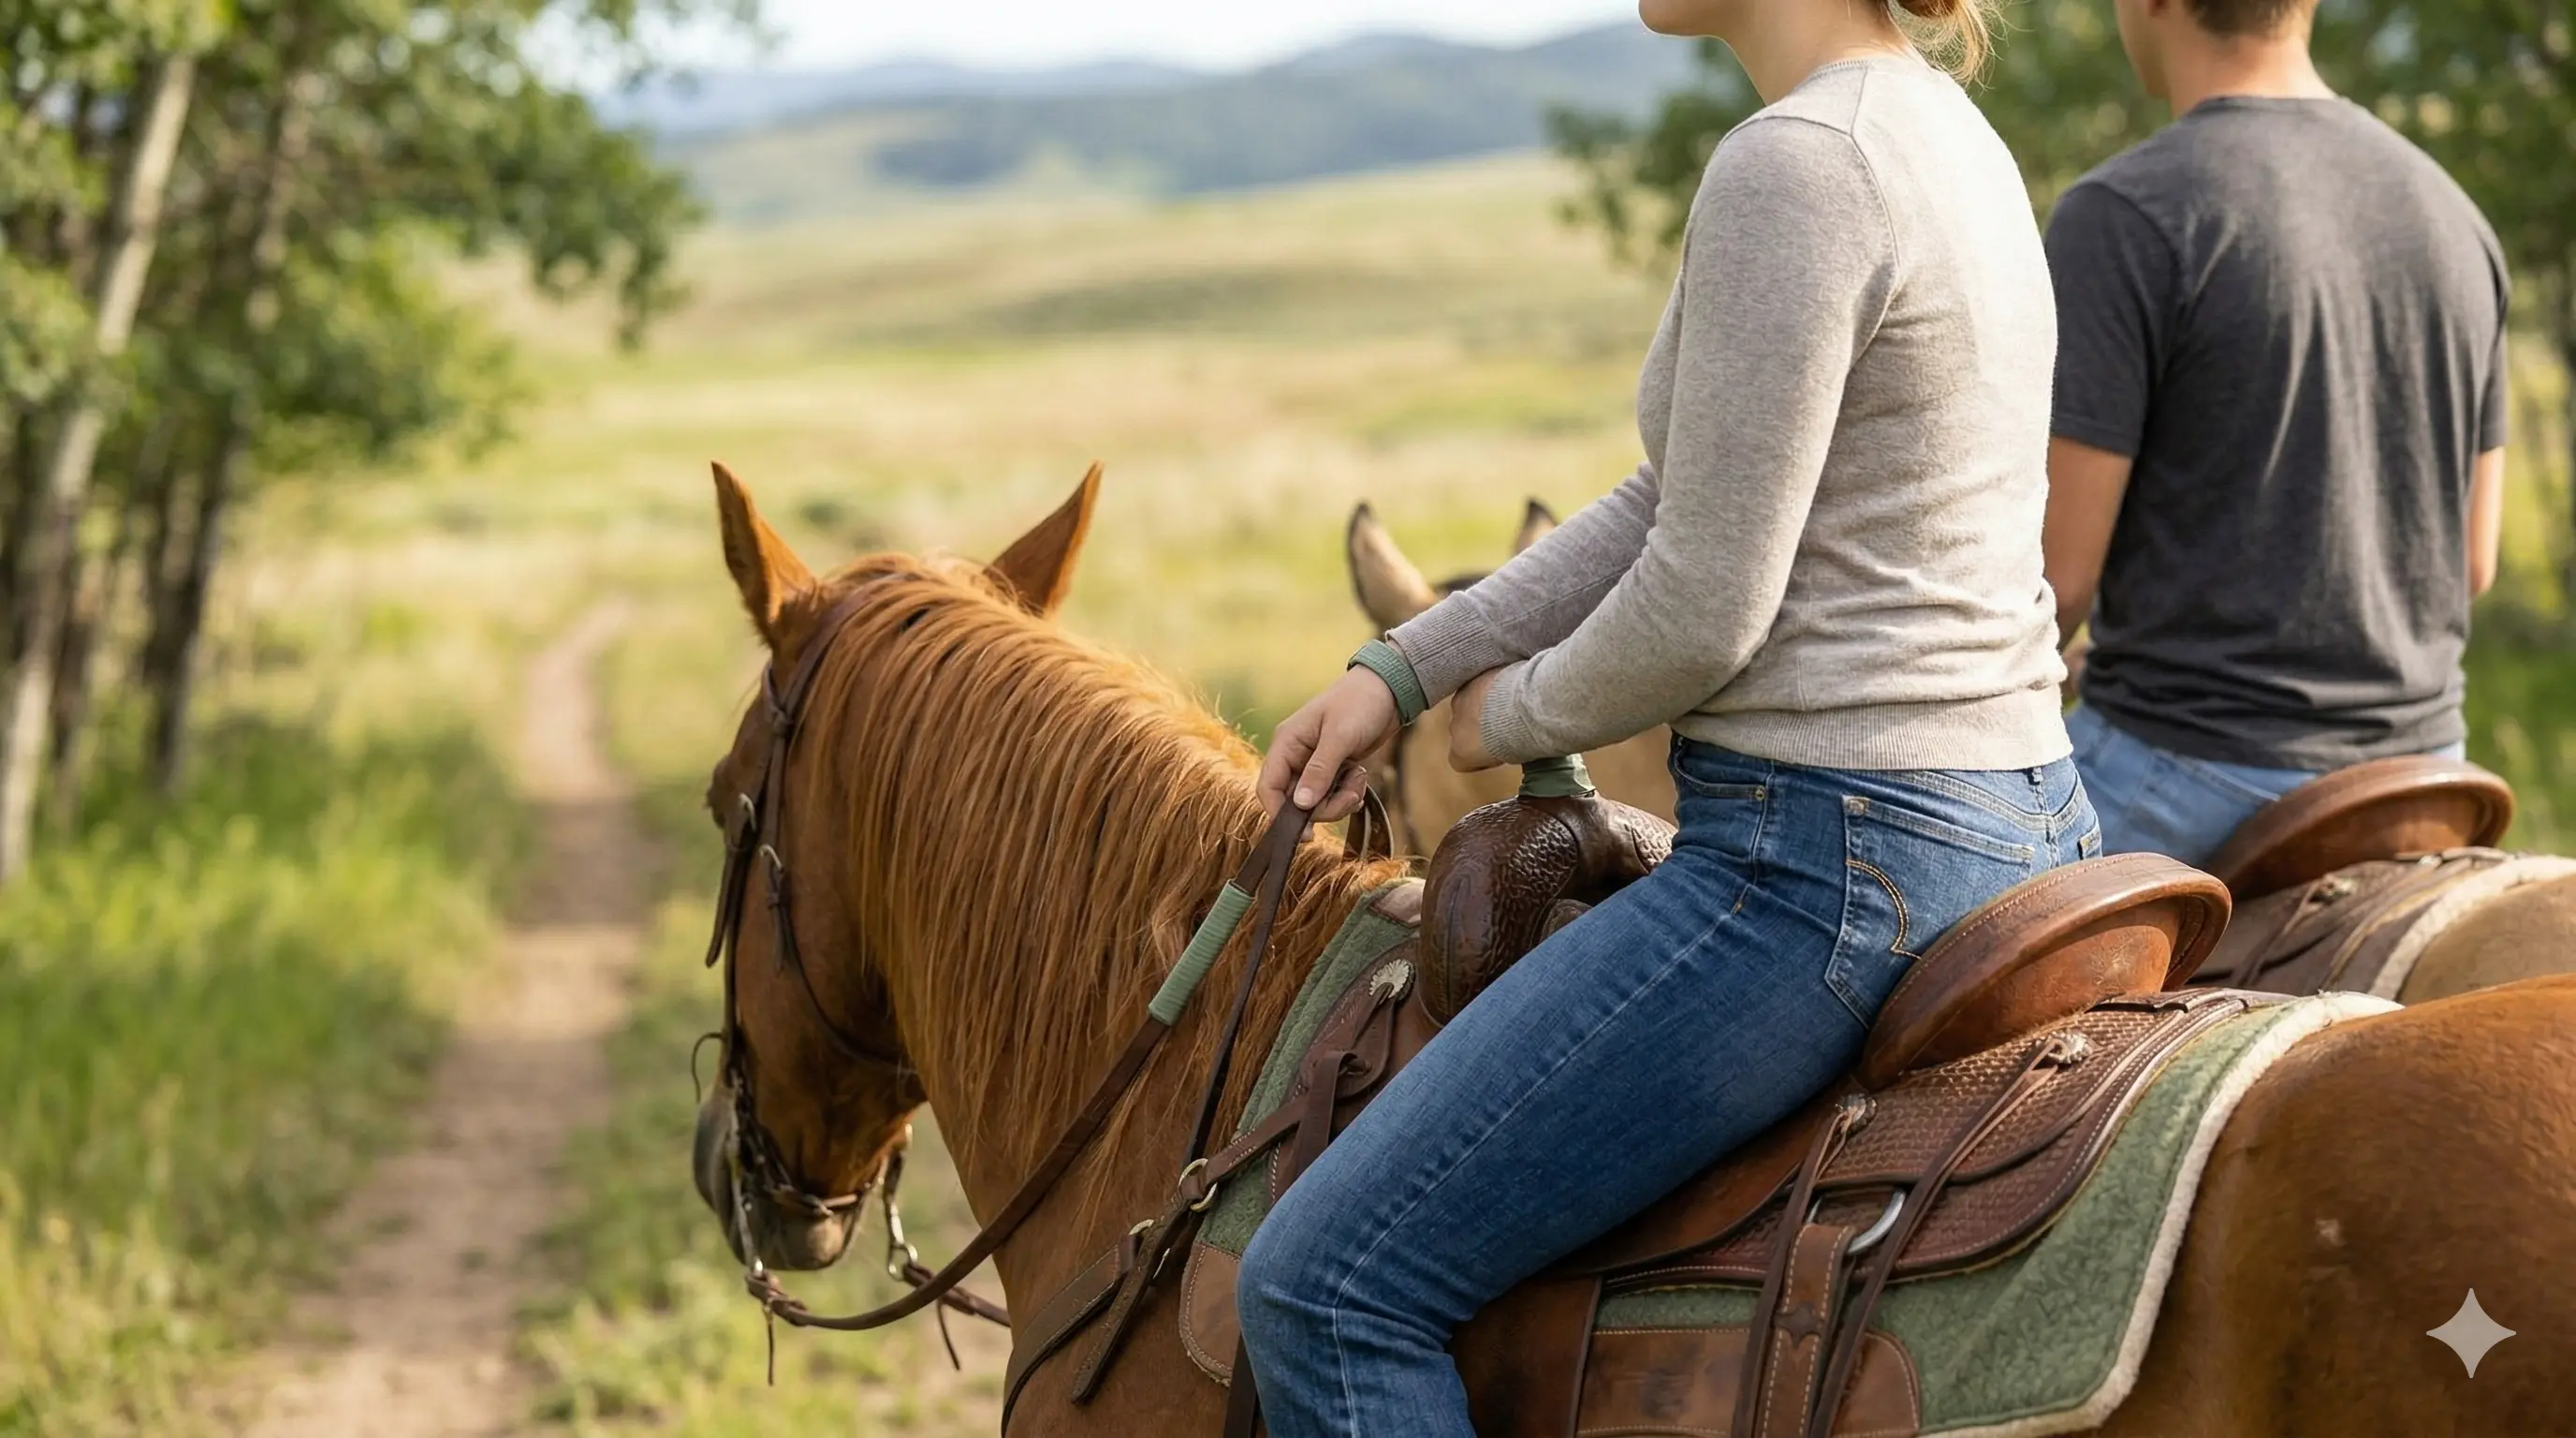
Your posture should be balanced rather than rigid. Sit tall through your spine, keep your shoulders soft, and let your elbows stay loose enough that your hands can move with the horse. A useful self-check is Eyes, Elbows, Heels. Your eyes look ahead, your elbows stay soft, and your heels remain gently down. This alignment helps you stay with the horse’s movement instead of working against it.
What Does The Start Of The Trail Actually Feel Like?
The first few steps often surprise new riders. A horse’s walk creates a rolling side-to-side and forward rhythm that feels much larger than walking on the ground. For a minute or two, many beginners think they are bouncing more than they should. In reality, they are simply adjusting to a movement pattern their body has not learned yet. Most riders settle faster than they expect once they stop bracing and start allowing the horse’s motion to move through their hips.
This is also the stage when the best beginner advice is the simplest: let the horse follow the line. Horses used for guided trail rides generally know their job. They often feel calmer when they can follow another horse rather than make independent decisions. Staying behind the lead horse at a comfortable distance helps your horse relax into the group rhythm, and it helps you relax as well because the path and pace are already being set for you.
That point may sound minor, but it matters. Group order and consistent spacing support predictability, and predictability lowers tension for both horses and people. On your first ride, it is better to think of yourself as part of a calm moving line than as an individual driver trying to direct every step.
How Do You Make The Horse Go Without Overdoing It?
Many first-time riders assume they will need to work hard to keep the horse moving. On most guided beginner rides, that is not the case. The horse will usually step forward with the group and continue walking with minimal input. Still, it helps to know the basic cue so you can respond if your horse slows, pauses, or becomes distracted.
To ask the horse to go forward, sit tall, keep your hands steady, and apply a light squeeze with both calves. If your guide has taught a voice cue such as “walk on,” add it in a calm tone. The sequence matters because it keeps your aids clear. Your body says forward, your leg confirms it, and your voice reinforces it. A hard kick or repeated flapping leg is not clearer; it is usually more confusing.
Good beginner riding is often quieter than people expect. Horses respond best when the message is simple and consistent. If a soft cue does not work, do not escalate into panic. Ask the guide for help. The point of a guided ride is that you do not have to solve every problem alone.
How Do You Make The Horse Stop Smoothly?
Stopping follows the same principle as going forward: clear, quiet communication works better than tension. The most reliable beginner stop starts with your body rather than your hands. Breathe out, sit a little deeper in the saddle, and then close your fingers gently on both reins. If the stable uses voice cues, add a soft “whoa.” This works because your seat and your reins are telling the same story at the same time.
Beginners often make the stop harder than it needs to be by pulling abruptly while leaning forward. That creates conflicting signals. Your hands say “slow down,” but your upper body says “keep moving.” A horse may respond anyway, but the stop can feel rougher and less controlled. When you sit tall, exhale, and close your fingers evenly, the stop is usually smoother and easier for the horse to understand.
The other important part of stopping is what you do next. Once the horse responds, soften again. Constant rein pressure can make the horse brace, toss its head, or stop listening carefully. A release after a correct response helps the horse stay relaxed and attentive.
How Should You Turn And Steer On A Beginner Trail Ride?
Most beginner trail rides do not require much active steering because the horses naturally follow the group. Still, guides usually explain a simple turning aid in case you need to straighten your horse, navigate a curve, or keep the horse from drifting. The easiest way to think about steering is that your eyes and shoulders lead, and your hands only clarify.
Start by looking where you want to go. That sounds too simple, but it works because your body naturally aligns when your focus moves in the correct direction. Then open the rein slightly in the direction of the turn while keeping the other hand quiet. The cue should feel small, not dramatic. You are suggesting a direction, not pulling the horse’s head around.
This matters because trail horses are often already trying to stay with the group. The more quietly you help them do that job, the smoother the ride feels. Large, constant rein movements can make a steady horse less steady. Small, readable cues tend to produce better results.
Why Does Spacing Matter So Much On The Trail?
Spacing is one of the least glamorous riding topics, which is probably why beginners underestimate it. Yet safe spacing is one of the biggest contributors to a calm trail ride. A good starting point is roughly one horse length between you and the horse ahead, with more room on narrow sections, hills, or turns. That space gives each horse room to place its feet, react to terrain, and avoid feeling crowded.
Crowding the horse in front can create tension quickly. Some horses pin their ears or swish their tails when another horse gets too close. Others may kick as a warning. Even if nothing dramatic happens, riding too close shortens your reaction time and makes you more likely to use abrupt reins or legs. By contrast, leaving a comfortable gap helps both you and the horse stay mentally ahead of the movement.
In practical terms, spacing also makes it easier to stay relaxed. Many beginners feel safer when they are almost touching the horse ahead because it makes them feel “connected” to the line. The opposite is usually true. A small but definite gap gives your horse room to stay settled behind the lead horse without bumping into the animal in front, and that steadier rhythm is what actually feels secure.
How Should You Ride Uphill And Downhill?
Hills are often the part beginners worry about before the ride, and they are also the part many riders handle better than they expect once they know the basics. The key is not to make a dramatic body movement but to shift your balance enough to stay with the horse’s center of gravity.
When you go uphill, allow your upper body to come slightly forward. This helps you stay with the horse’s motion rather than behind it. You do not need to collapse over the neck or grab the reins. A small forward inclination is enough. Keep your hands quiet so you are not accidentally pulling on the horse’s mouth while it climbs.
When you go downhill, sit a little deeper and lean slightly back. The point is to keep your weight from tipping onto the horse’s shoulders. Again, the shift is subtle rather than exaggerated. Think of balancing with the slope rather than performing a dramatic pose. On rocky or uneven sections, trust the horse’s ability to place its feet. Experienced trail horses are often better at reading the ground than novice riders are.
What Mistakes Do First-Time Trail Riders Make Most Often?
The most common beginner mistakes are usually tension habits disguised as attempts to stay safe. Riders grip with their knees, tip forward, look down, hold the reins too tightly, or try to micromanage a horse that already knows the trail. None of those choices makes someone a bad rider. They are natural stress responses. The problem is that they often reduce stability rather than improve it.
A tense knee grip, for example, lifts your seat out of its most balanced position and makes your lower leg less secure. Looking down shifts your upper body forward and narrows your awareness of the trail. Tight reins can create constant pressure that makes the horse less comfortable and less clear about what you want. The fix for all of these is usually a reset rather than a major correction: breathe out, soften your knees, let your weight fall into your heels, look ahead, and quiet your hands.
Another common mistake is letting the horse dive for grass. Trail horses know where the grass is, and some will absolutely test whether a beginner plans to allow snacking. If the horse starts to reach down, shorten your reins slightly, lift your hands a little, keep your leg gently on, and encourage forward motion. Do not jerk harshly. A quiet correction is usually more effective and less disruptive to the ride.
What Should You Do If You Feel Nervous During The Ride?
Feeling nervous during your first trail ride is ordinary, not evidence that you are doing badly. The best response is to simplify rather than to overcontrol. Keep breathing, look ahead, let your horse stay with the line, and return to one useful cue at a time. If your mind starts racing, come back to the rhythm of the horse’s walk and the basic posture check of eyes, elbows, heels.
It also helps to remember that guided trail horses are usually chosen for their steadiness. They are not expecting you to ride like an advanced equestrian. In many cases, the horse is far more experienced at this exact route than you are, and the guide is watching the whole line for signs of rider tension or horse discomfort. That means you do not need to silently manage a problem if something feels awkward. Ask. Good guides would rather fix a slipping stirrup, a short rein, or a nervous rider early than let that uncertainty build for twenty more minutes.
What Should You Expect At The End Of The Ride?
The end of the ride is usually quieter than the beginning. By then, most beginners have settled into the movement, learned how little force is needed to communicate with the horse, and realized that a guided trail ride is more structured than mysterious. The guide will usually organize a controlled stop, help with dismounting if needed, and take the horse once you are safely back on the ground.
Physically, it is normal to feel a little tired or sore after your first ride, especially in your legs, hips, and lower back. That does not mean you did anything wrong. Riding uses stabilizing muscles that many people do not challenge in daily life. A short walk, some water, and gentle stretching afterward usually help. Emotionally, many first-time riders feel a mix of relief, pride, and surprise that the ride felt calmer than they expected.
This is also a good moment to ask one practical question before you leave. You might ask whether your stirrups looked correct, whether your horse responded well to your cues, or what to work on next time. That short debrief turns the experience from a one-time novelty into the beginning of real confidence.
FAQ: Horseback Trail Rides for Beginners
What Should I Wear For My First Guided Trail Ride If I Do Not Own Riding Clothes?
You do not need a full riding wardrobe for a beginner trail ride. Wear long pants, closed-toe shoes or boots with a small heel, and comfortable layers that fit closely enough not to flap or snag. If the stable provides a helmet, wear it.
How Do I Make A Trail Horse Go If It Stops On The Trail?
Start with a light cue rather than a big one. Sit tall, keep your hands quiet, squeeze gently with both calves, and use the stable’s preferred voice cue if one was taught. If the horse still does not respond, ask your guide for help instead of escalating into strong kicking or pulling.
How Do I Stop A Horse Without Pulling Too Hard On The Reins?
The smoothest beginner stop starts with your body. Breathe out, sit a little deeper, then close your fingers gently on both reins and soften once the horse responds. Pulling suddenly while leaning forward is more likely to create confusion than a calm, coordinated cue.
How Close Should I Ride Behind The Horse In Front Of Me On A Trail Ride?
A good guideline is about one horse length, and sometimes a little more on hills, turns, or narrow paths. That spacing helps the horse in front feel less crowded and gives you time to respond if the line changes pace.
Do I Really Need A Helmet On A Slow Beginner Trail Ride?
Yes. Approved riding helmets are associated with meaningful reductions in both overall and severe head injuries, which is why reputable stables emphasize them even on calm, mostly walking rides. 1 2
What Should I Do On Hills During My First Trail Ride?
Lean slightly forward when the horse goes uphill and slightly back when the horse goes downhill. Keep the change subtle, stay centered, and avoid grabbing the reins for balance.
What If I Get Nervous And Feel Like I Am Doing Everything Wrong?
That feeling is common and usually passes once you return to the basics. Breathe, look ahead, let your horse follow the group, and ask the guide for help if something feels off. Good guided rides are designed with beginner nerves in mind.